| January 17, 2023 |
Understanding the Complexity of High Availability for Business-Critical Applications |
| January 13, 2023 |
Epicure Protects Business Critical SQL Server with Amazon EC2 and SIOS SANLess Clustering Software |
| January 10, 2023 |
SIOS DataKeeper Clustering Software Enables Gulliver International to Move Internal IT Systems to Amazon Web Services Safely |
| January 5, 2023 |
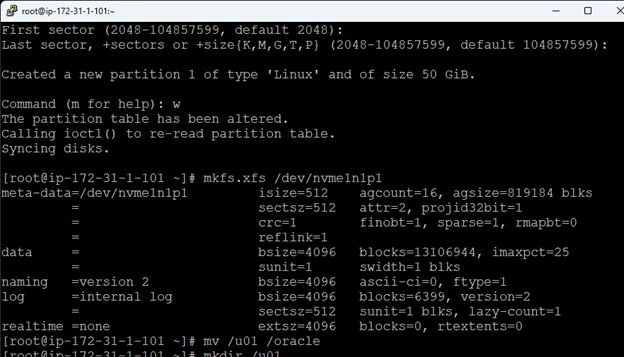
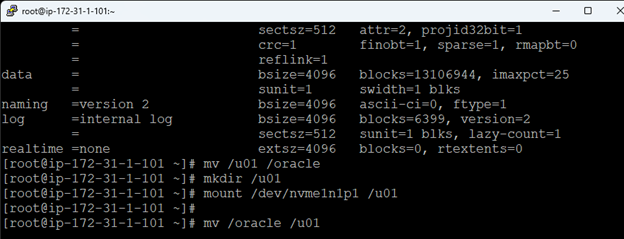
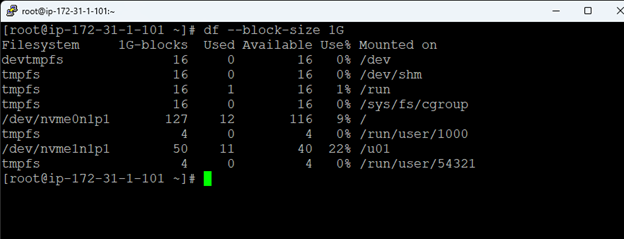
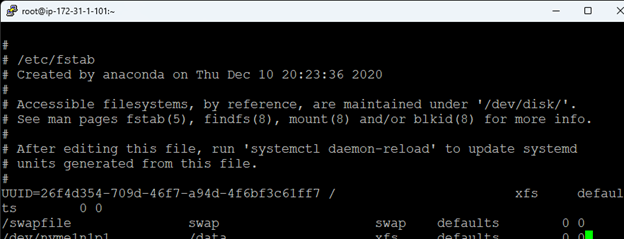
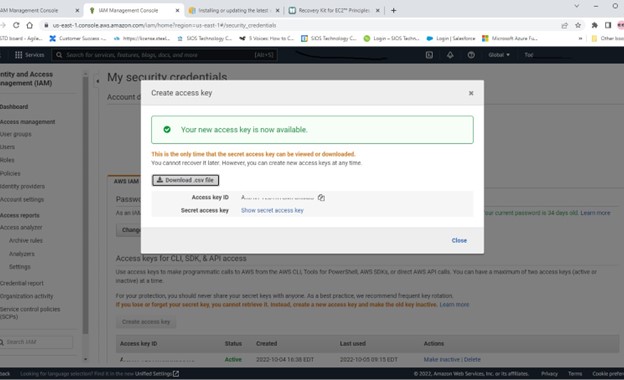
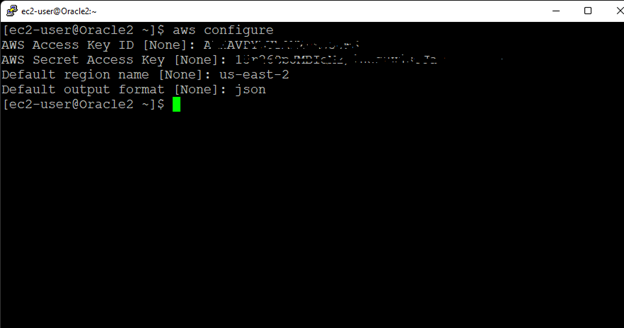
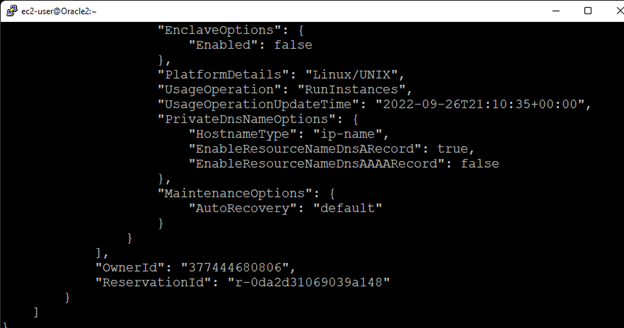
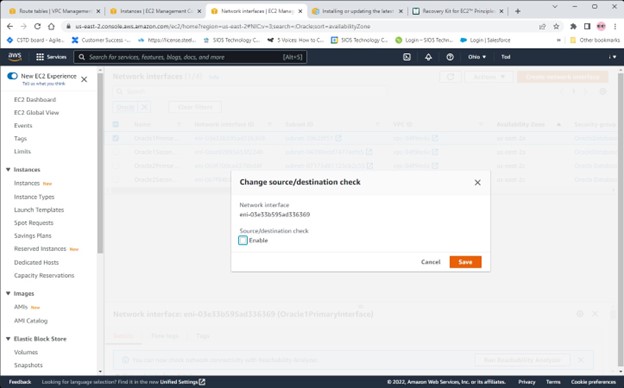
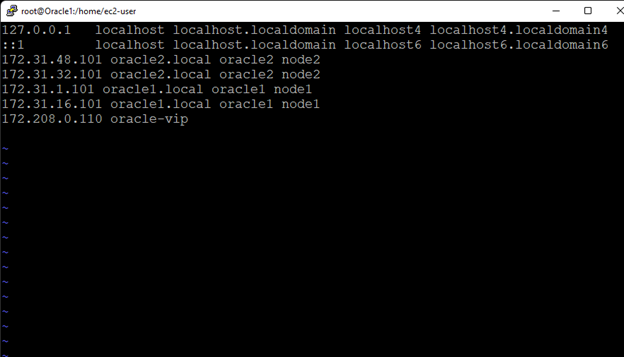
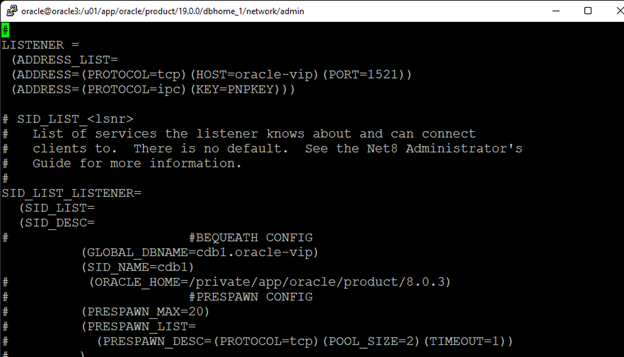
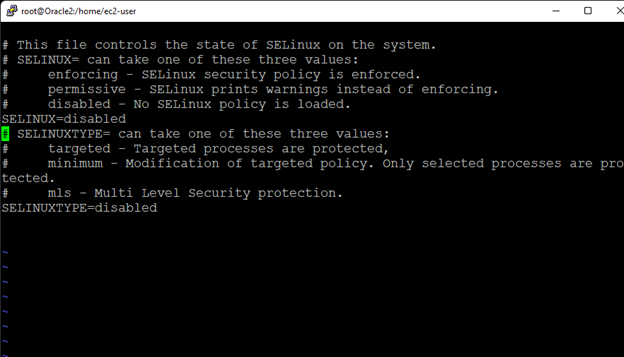
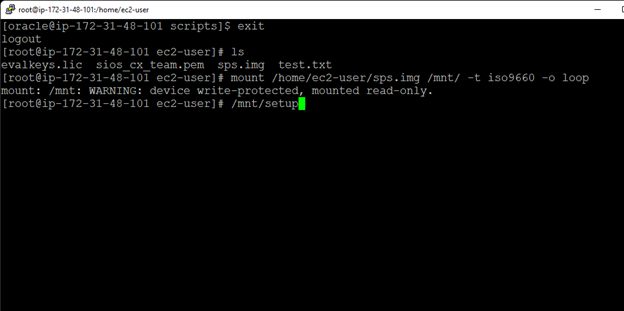
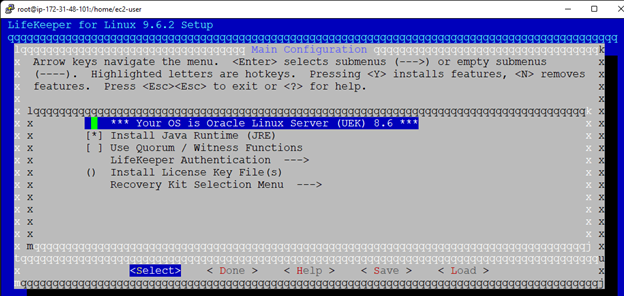
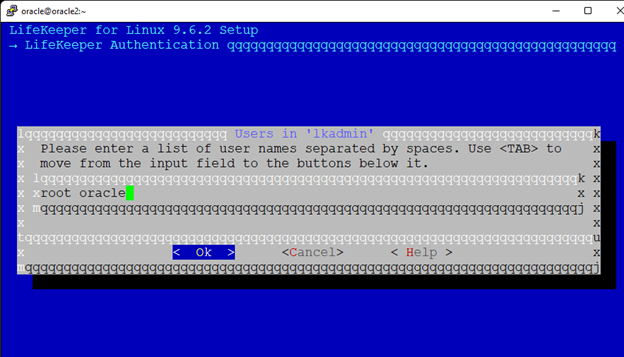
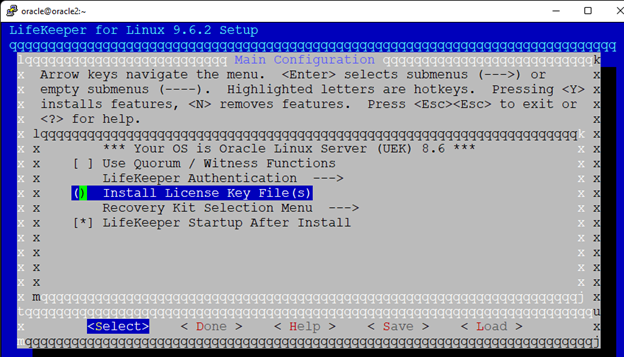
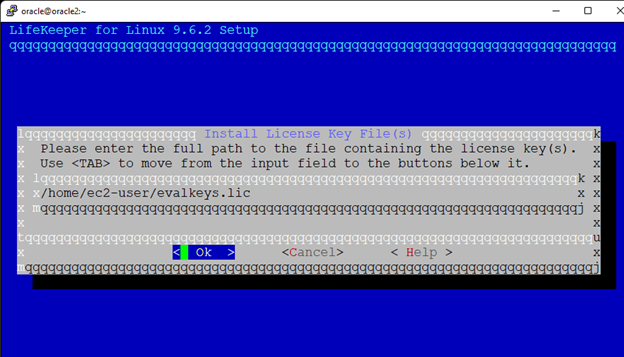
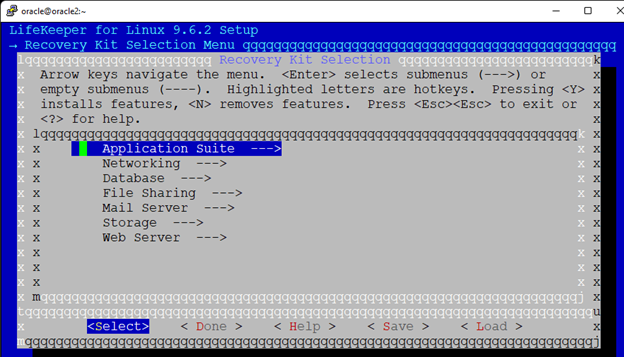
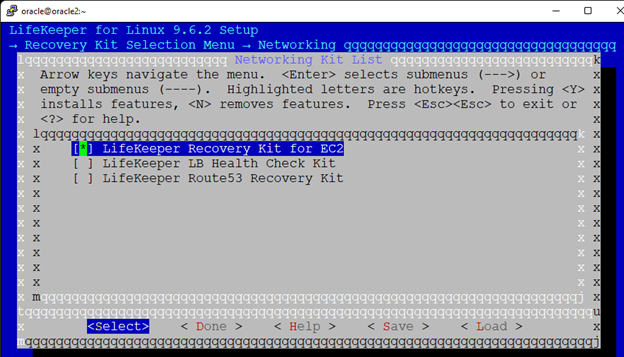
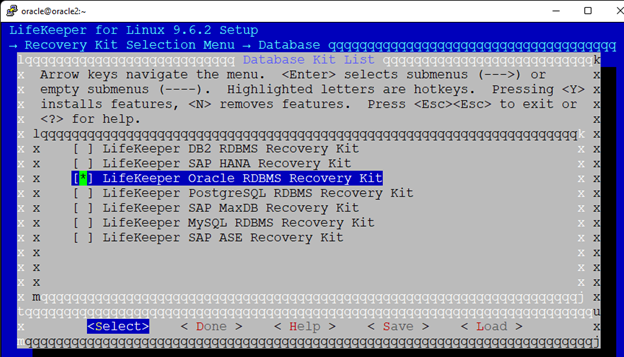
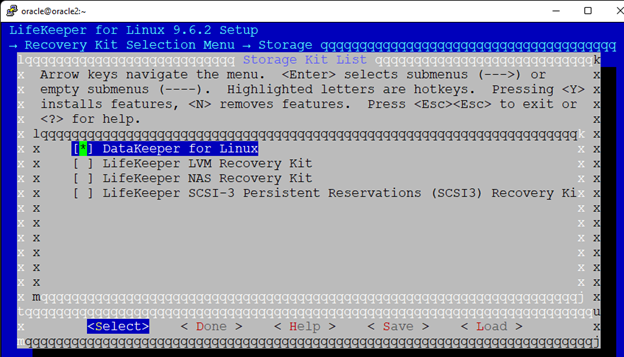
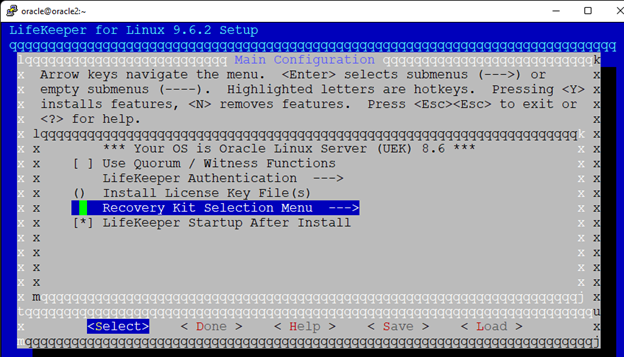
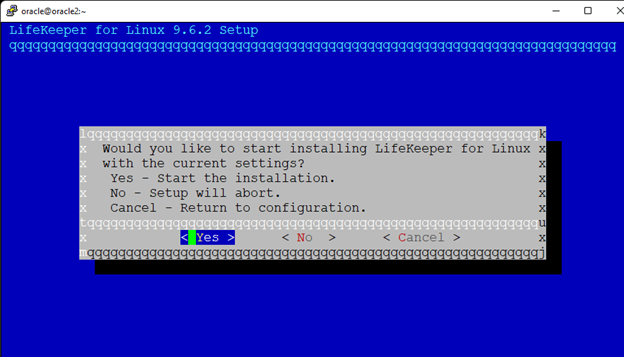
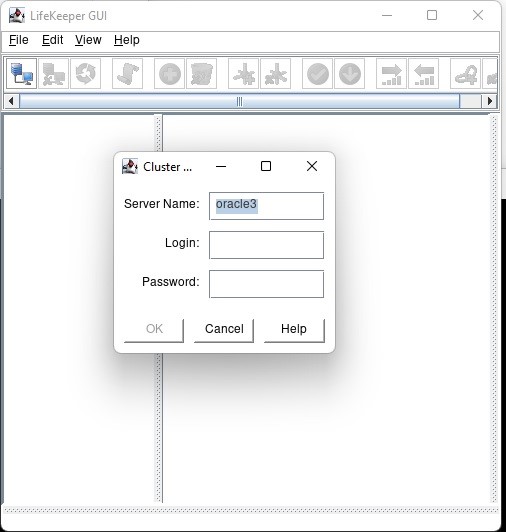
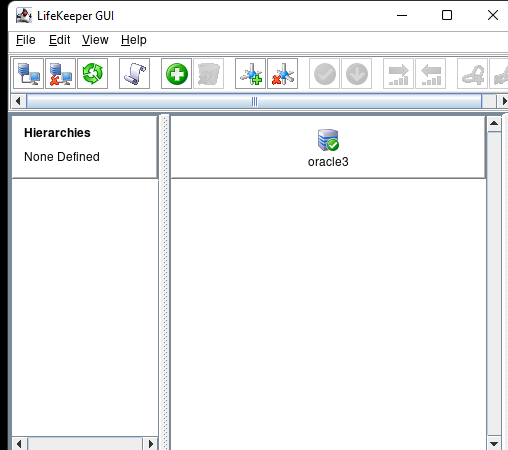
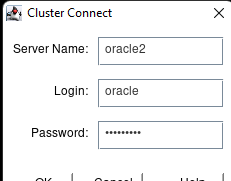
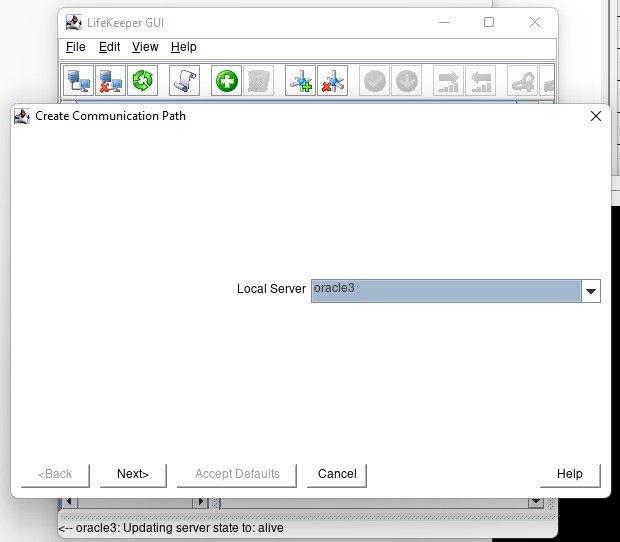
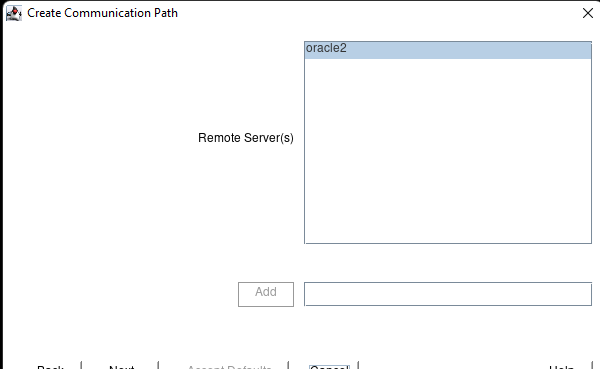
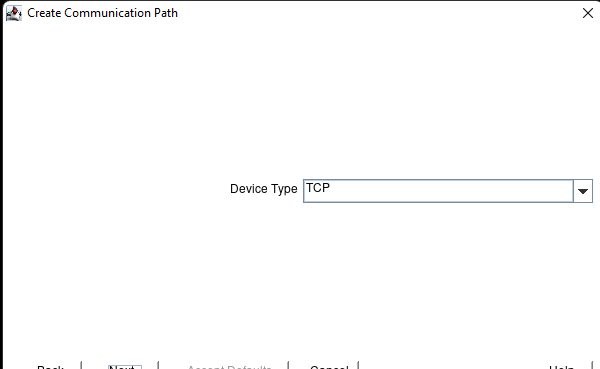
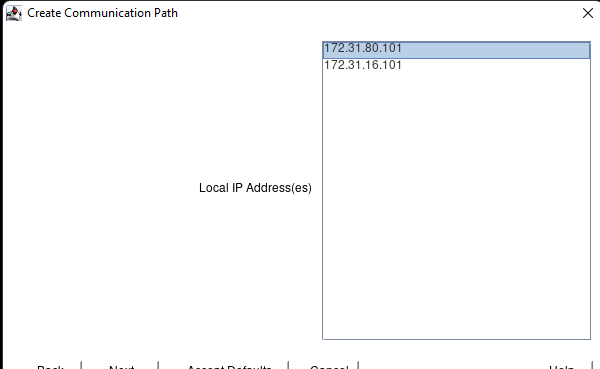
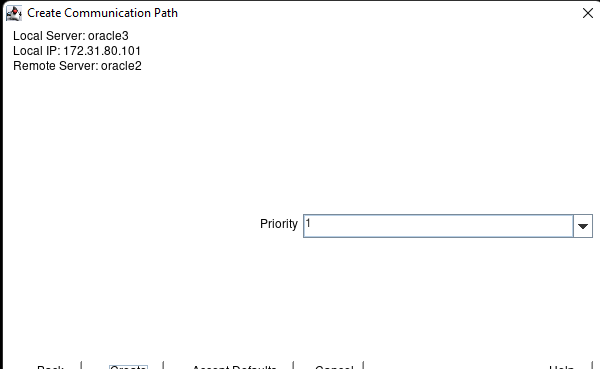
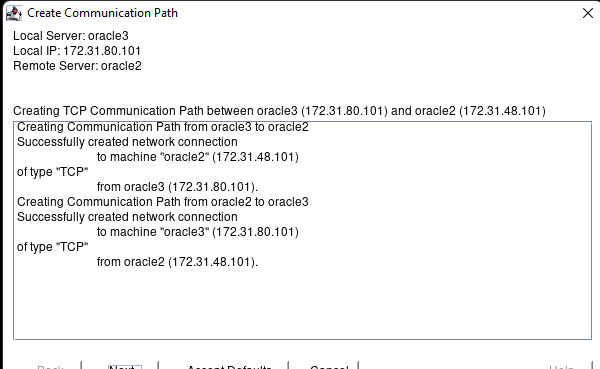
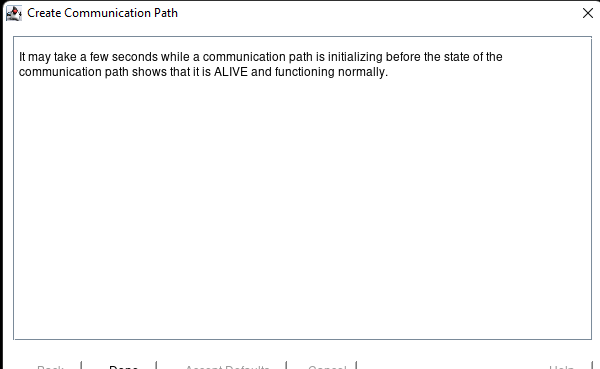
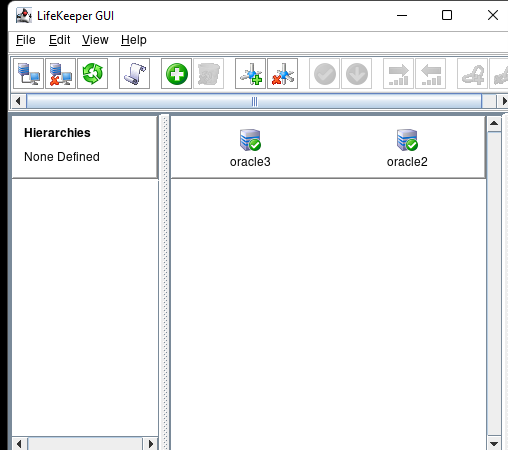
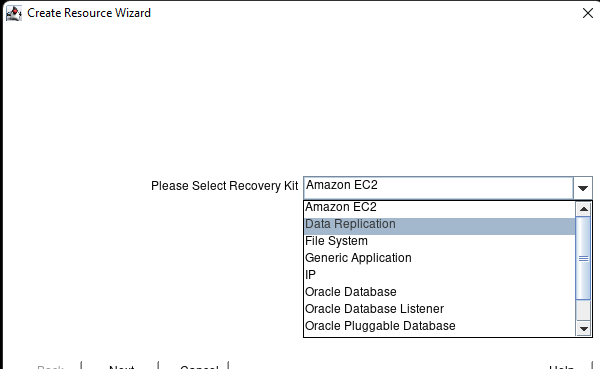
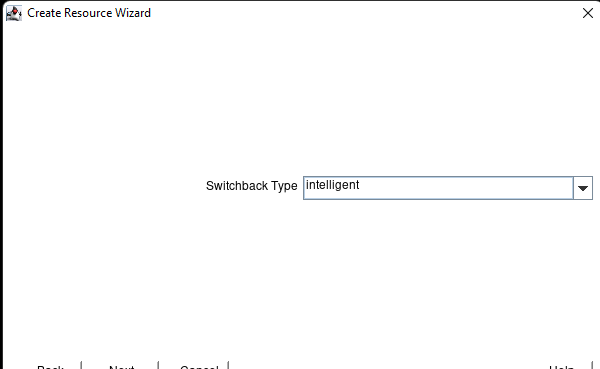
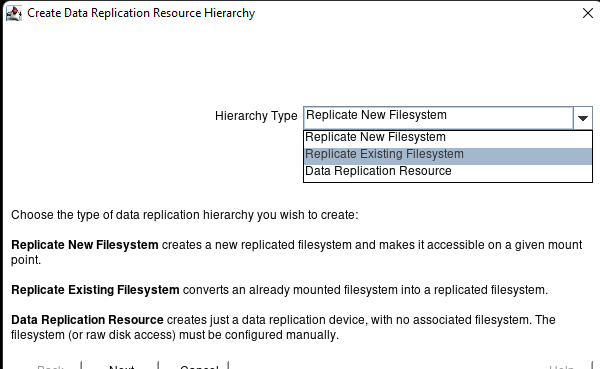
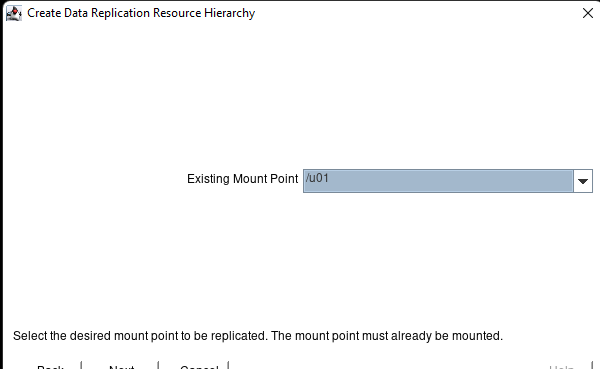
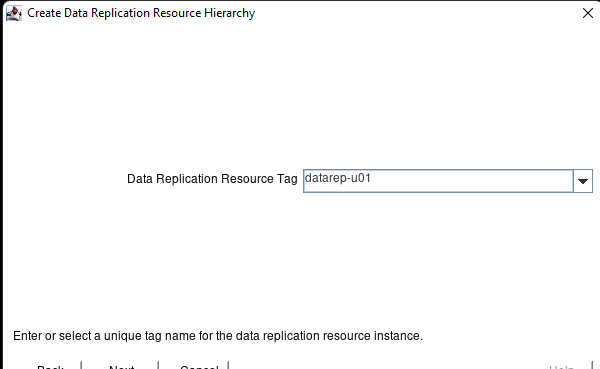
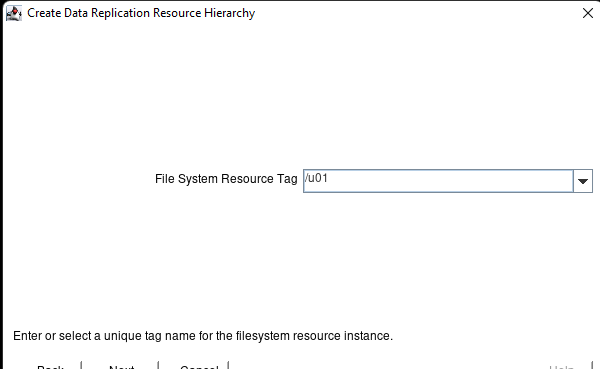
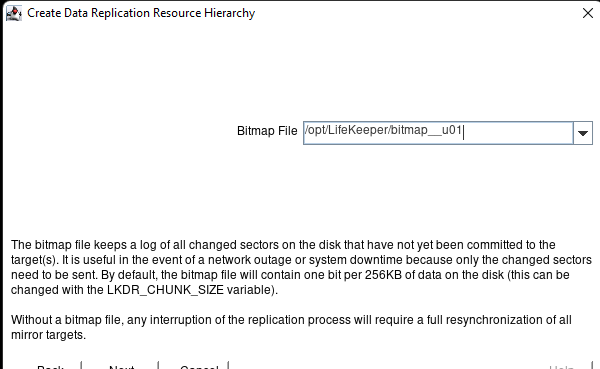
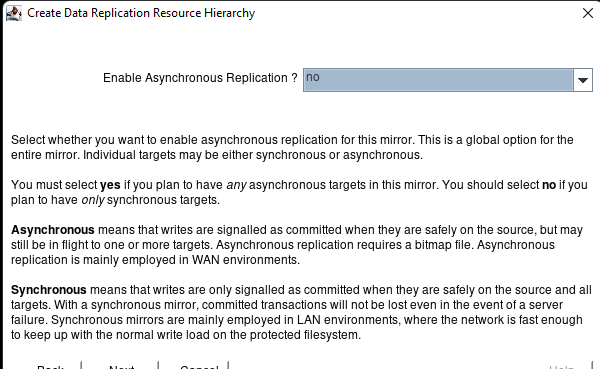
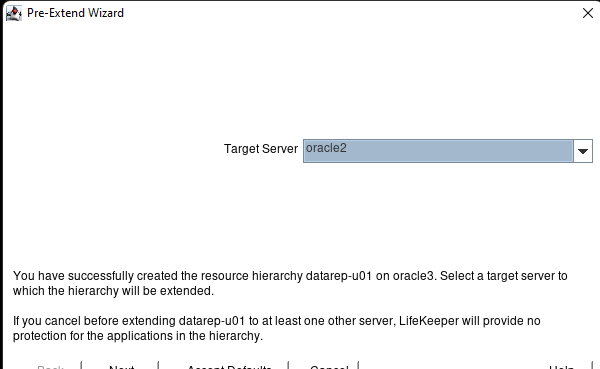
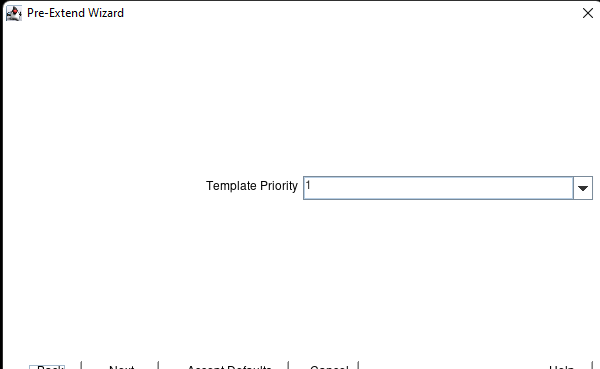
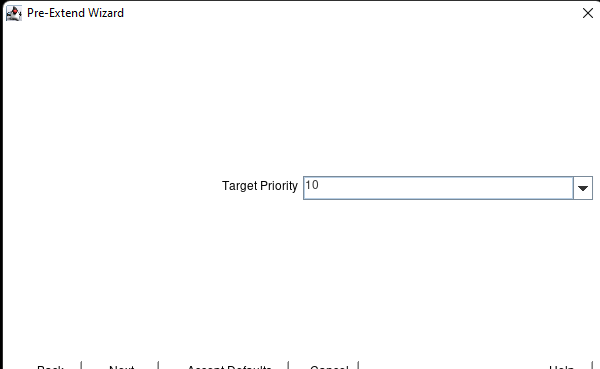
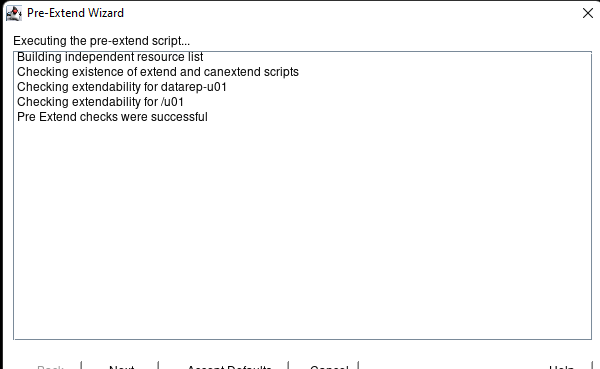
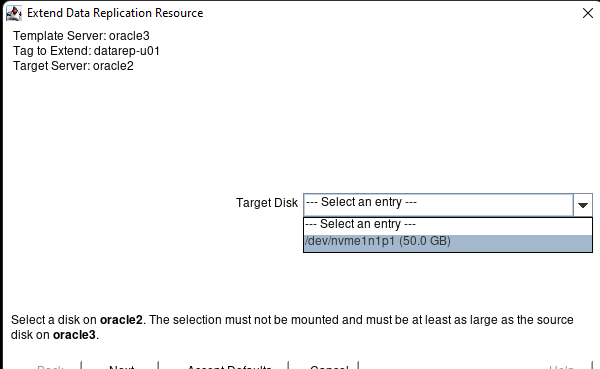
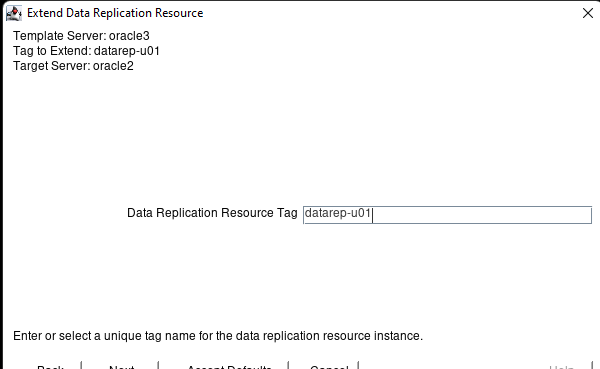
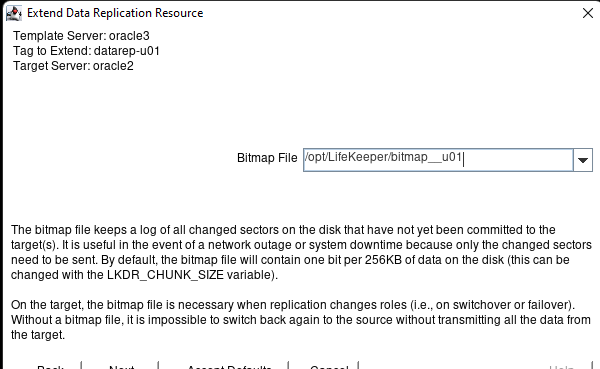
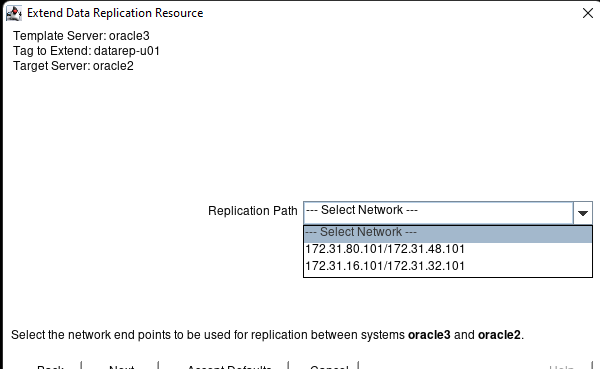
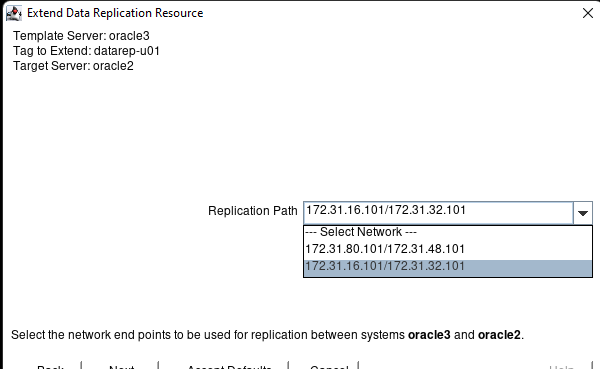
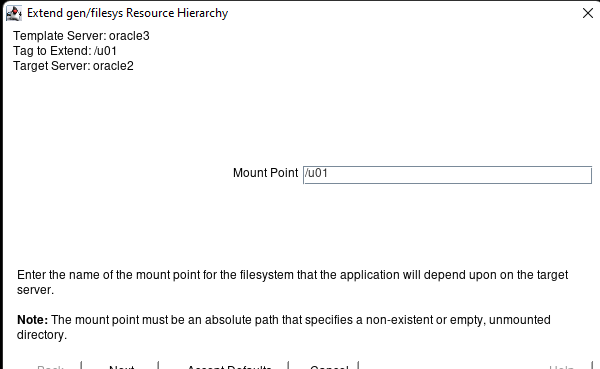
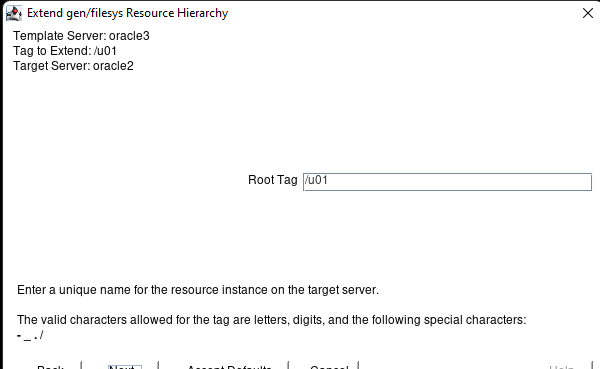
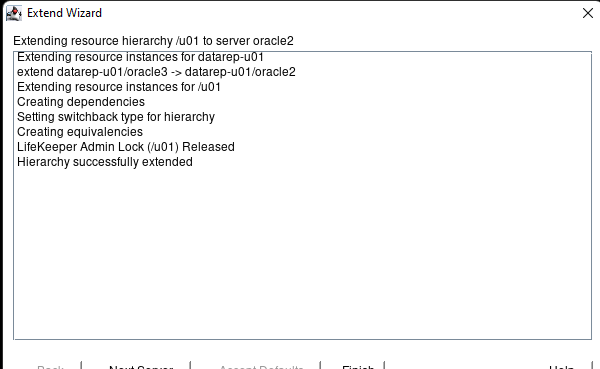
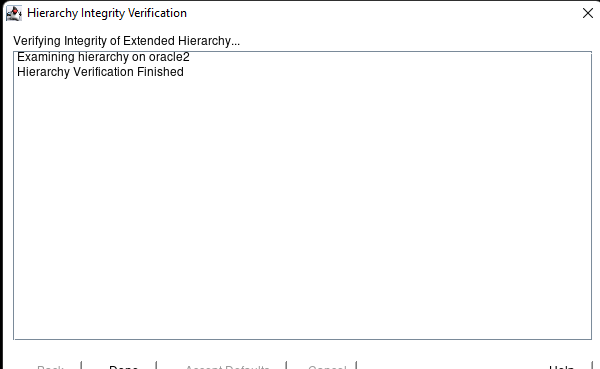
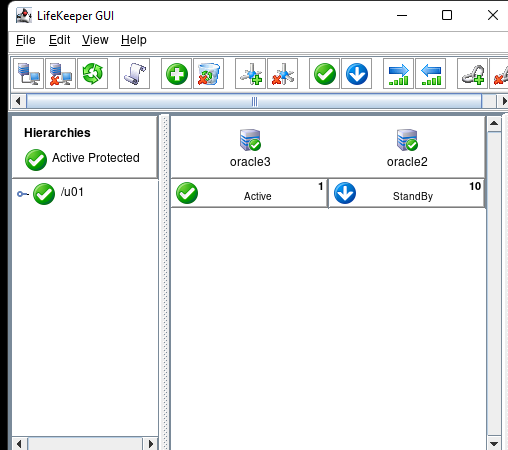
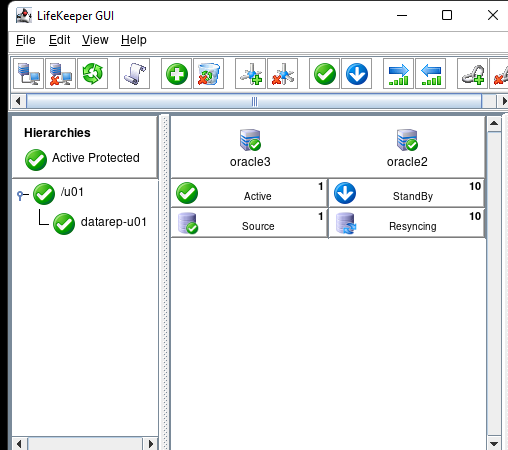
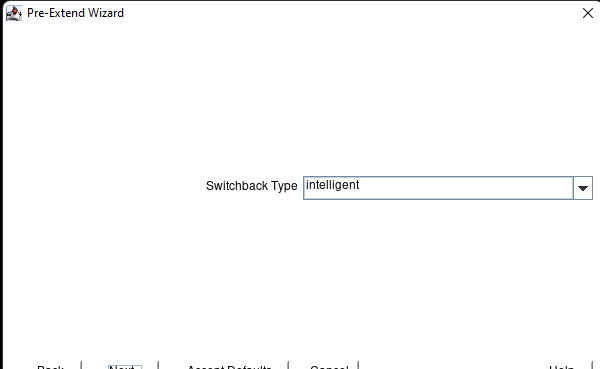
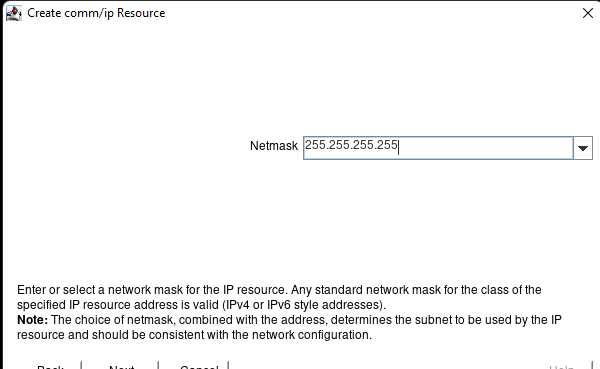
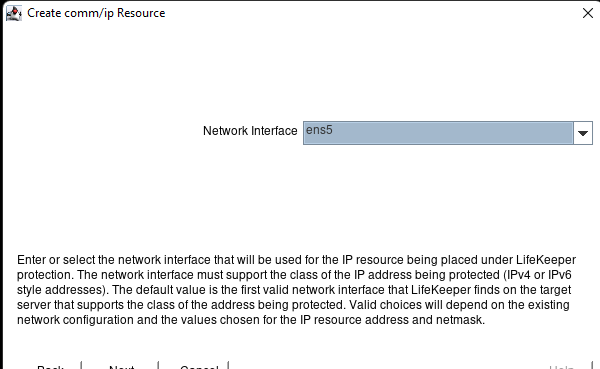
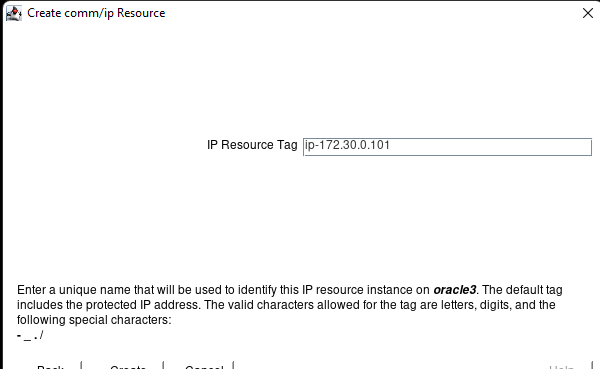
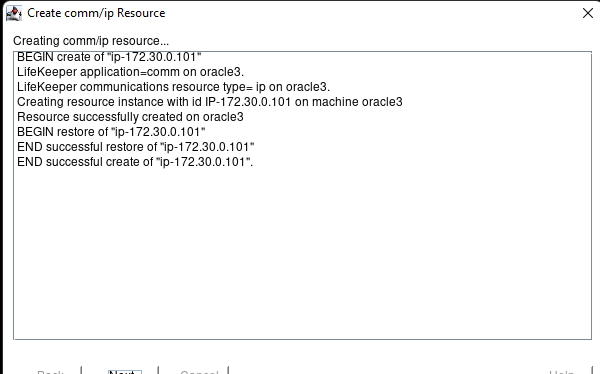
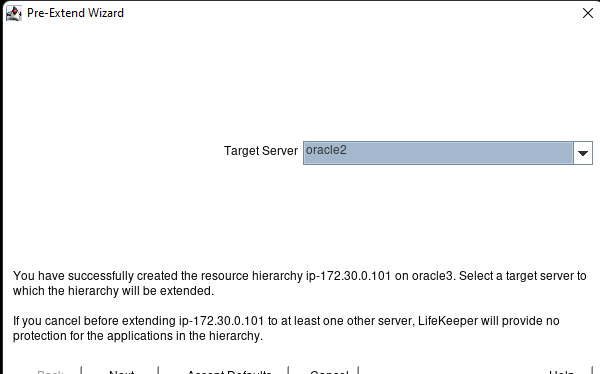
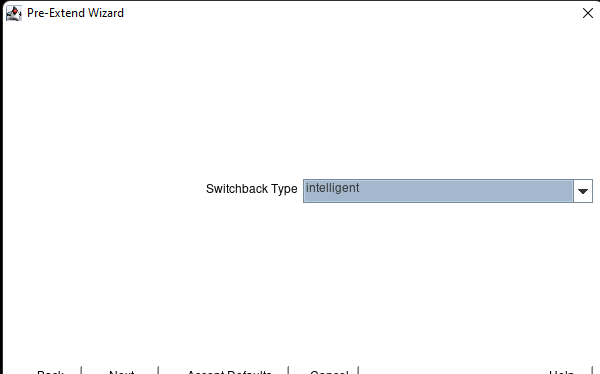
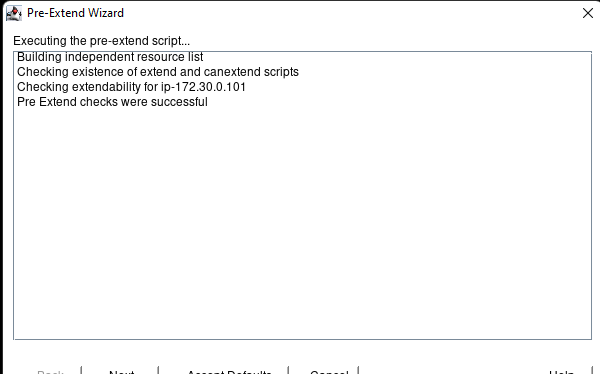
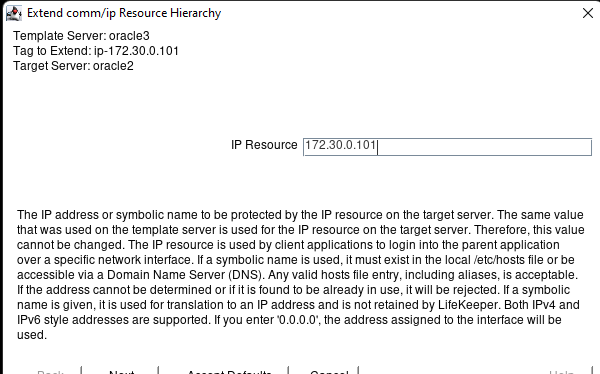
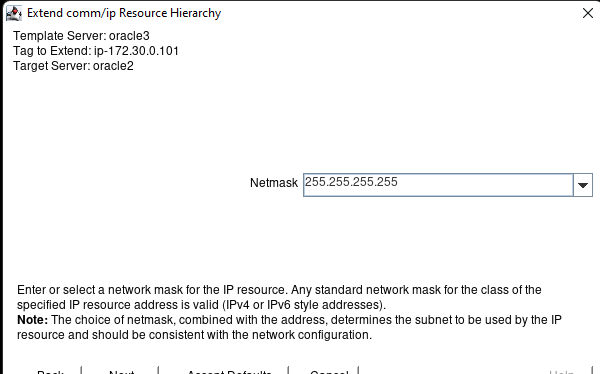
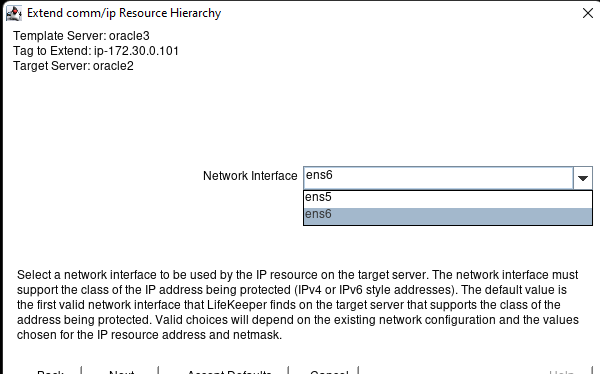
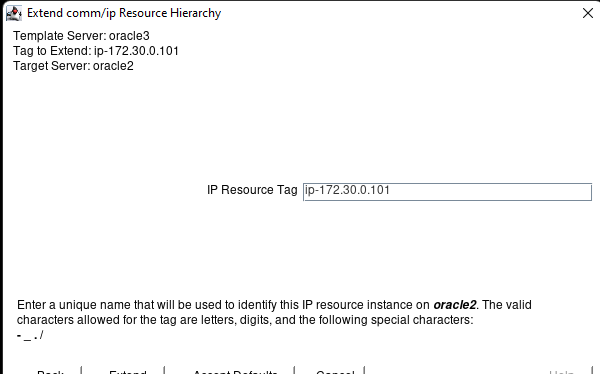
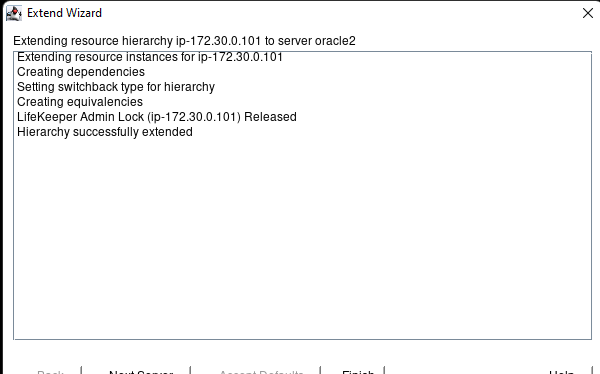
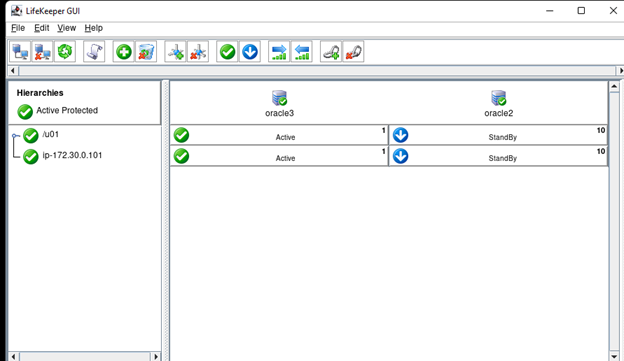
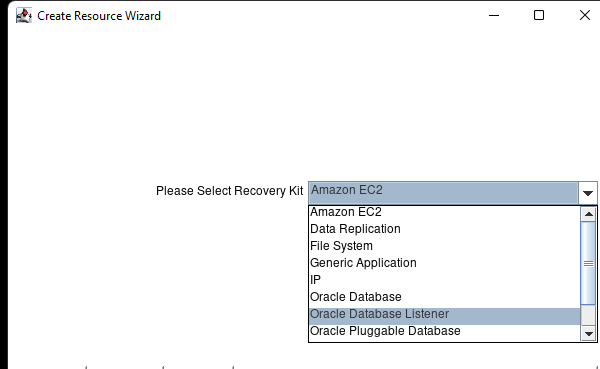
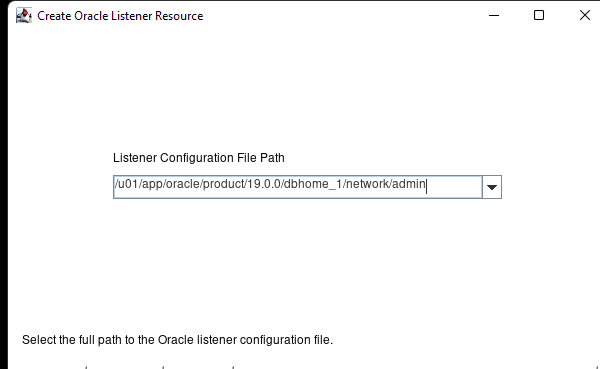
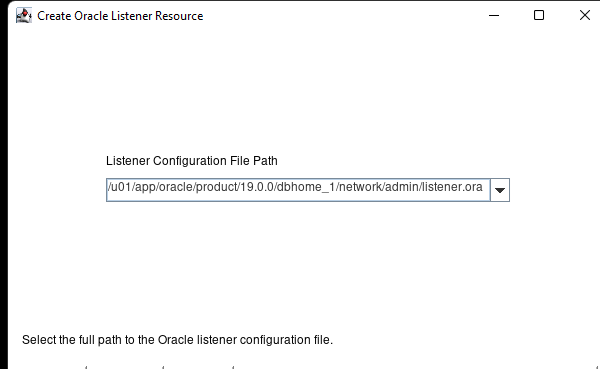
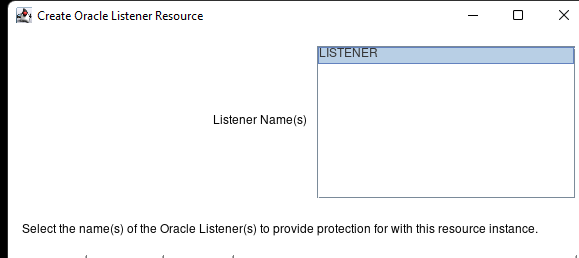
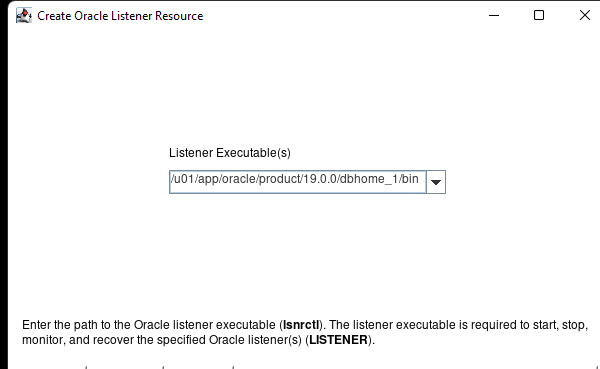
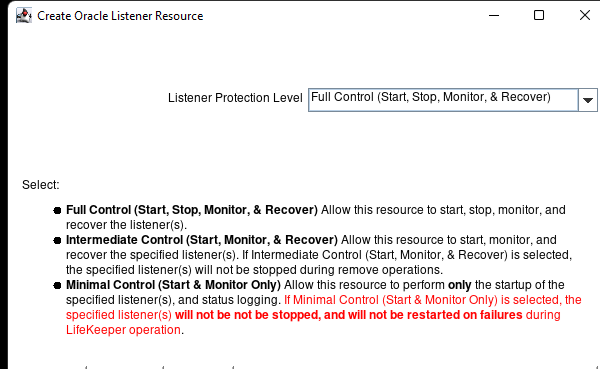
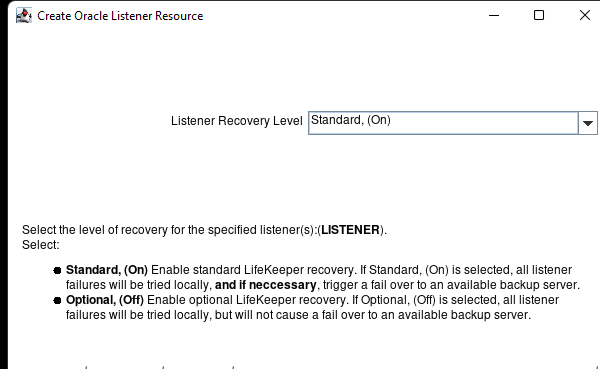
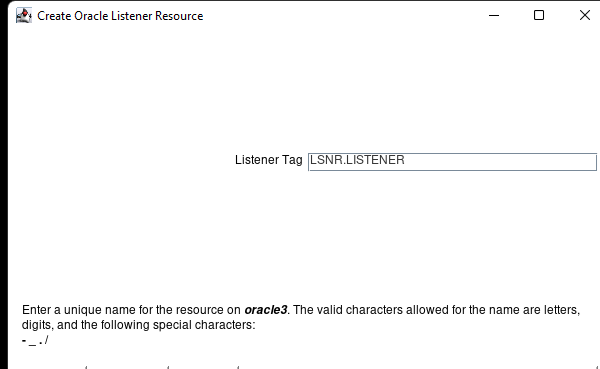
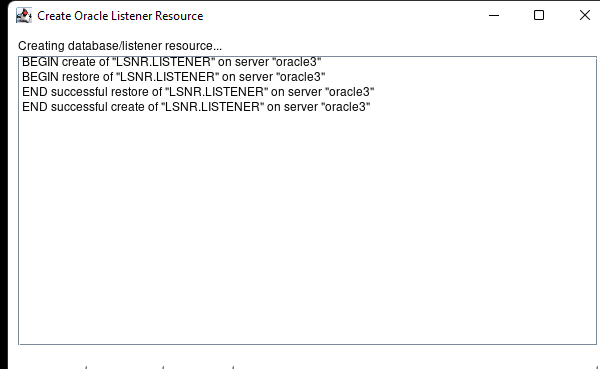
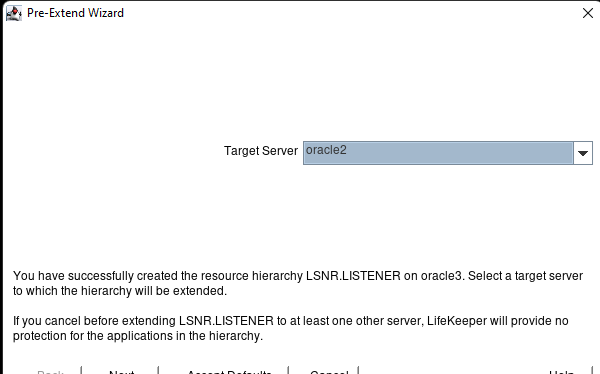
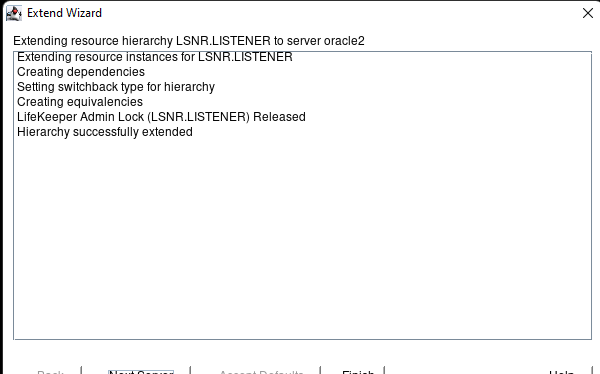
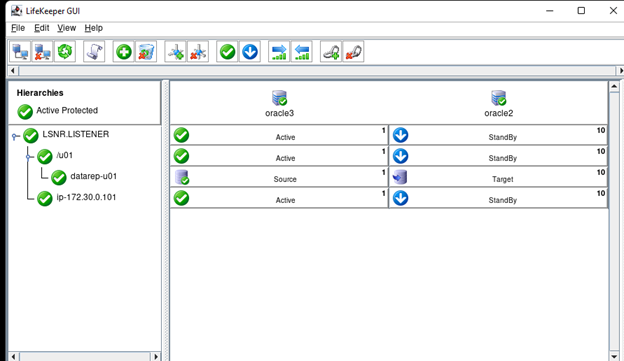
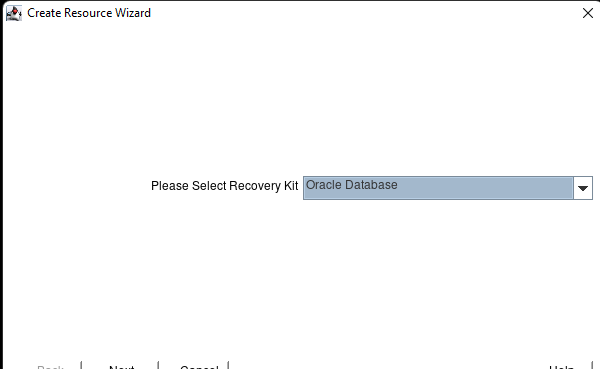
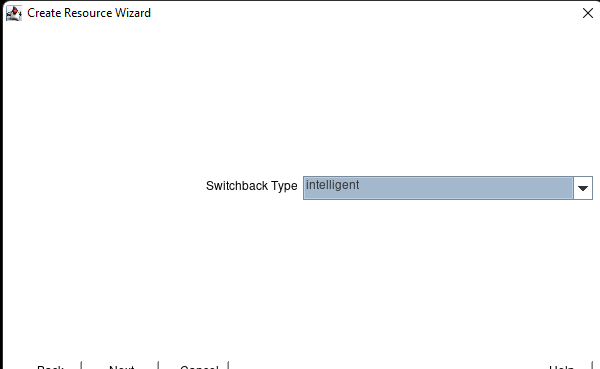
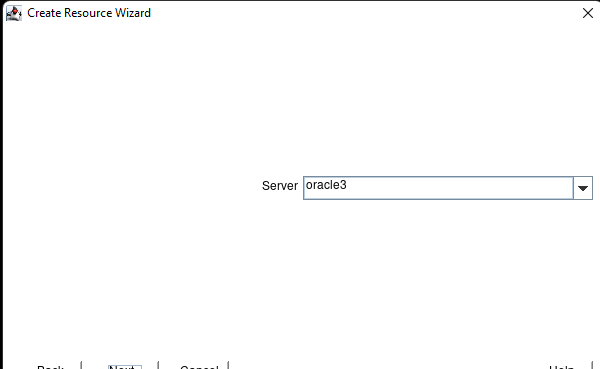
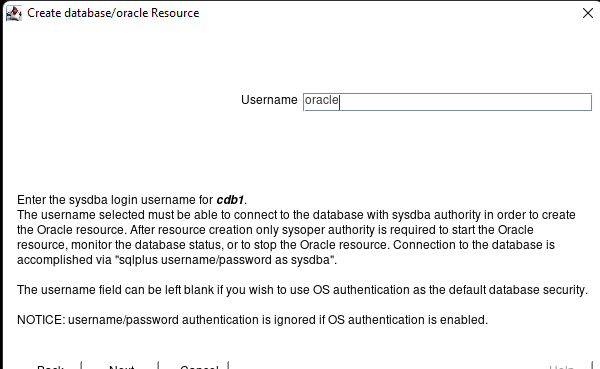
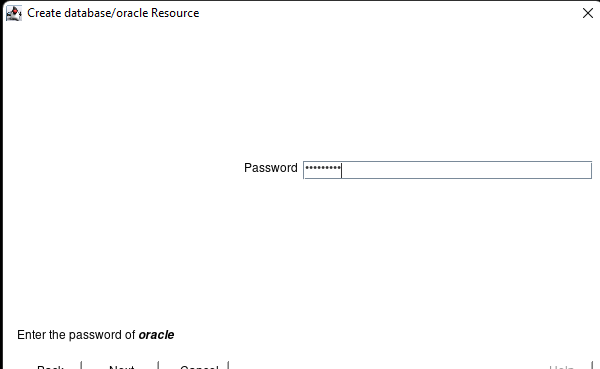
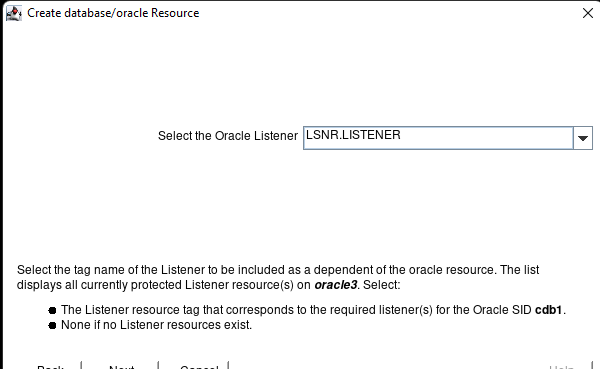
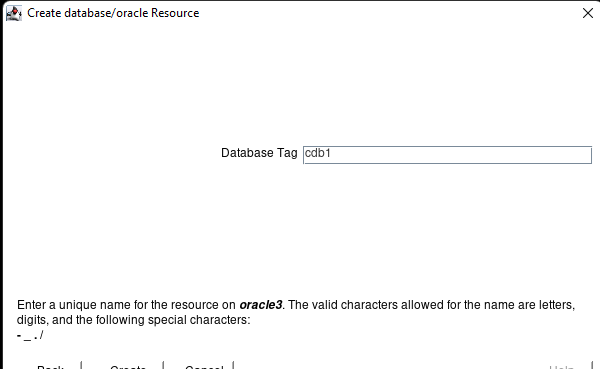
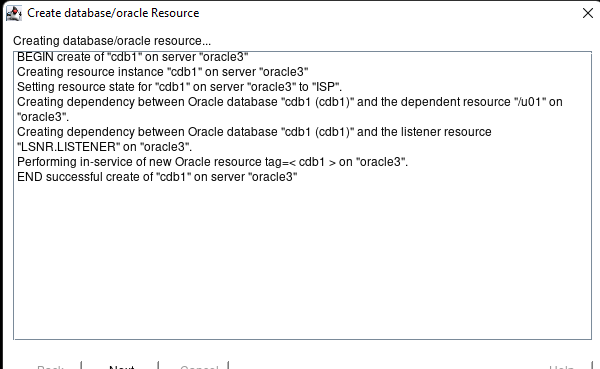
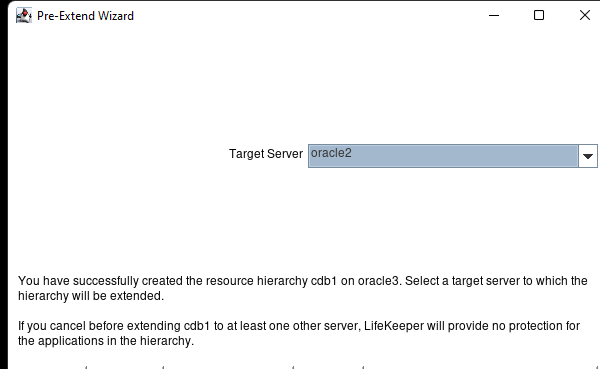
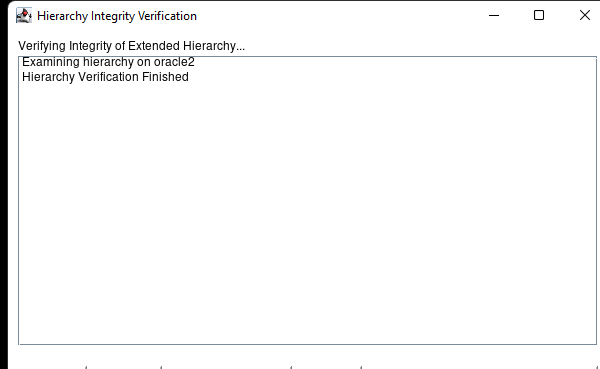
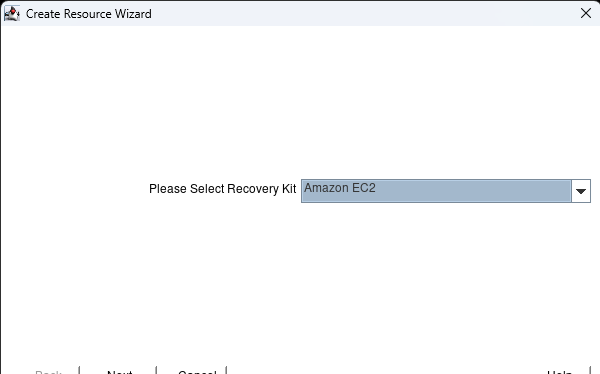
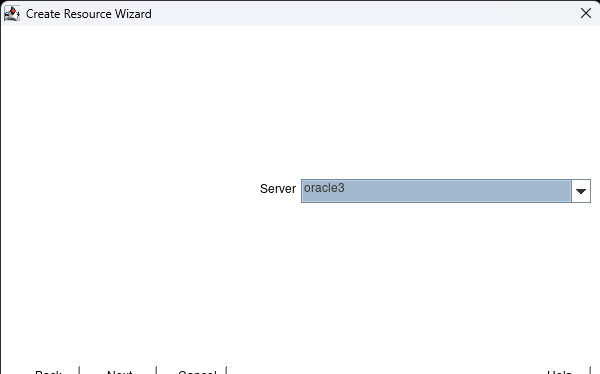
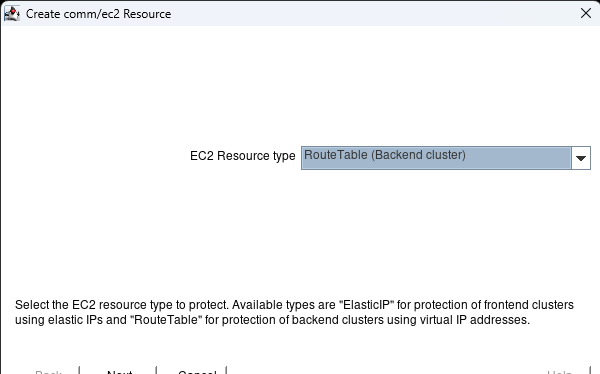
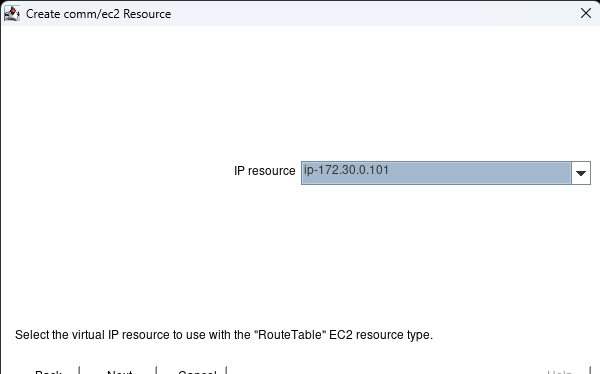
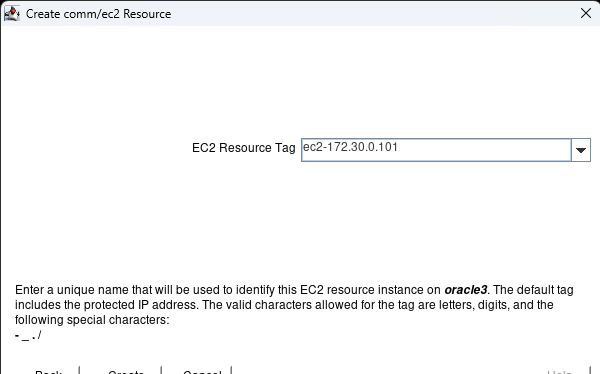
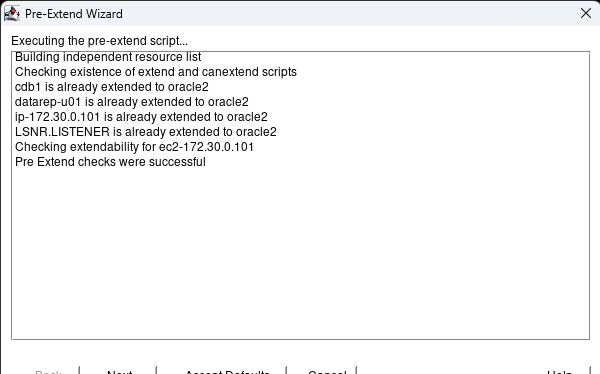
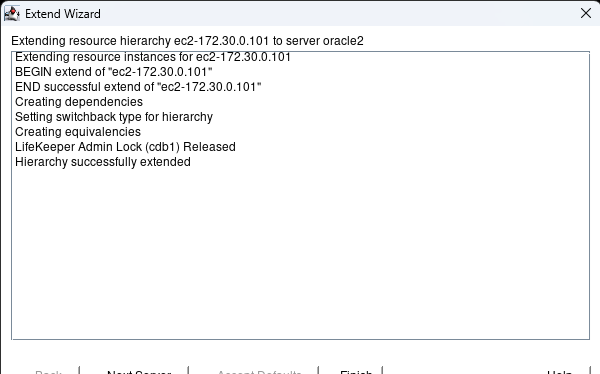
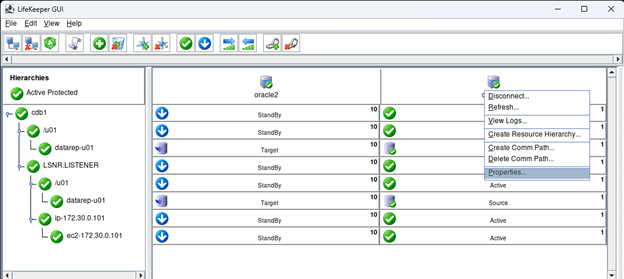
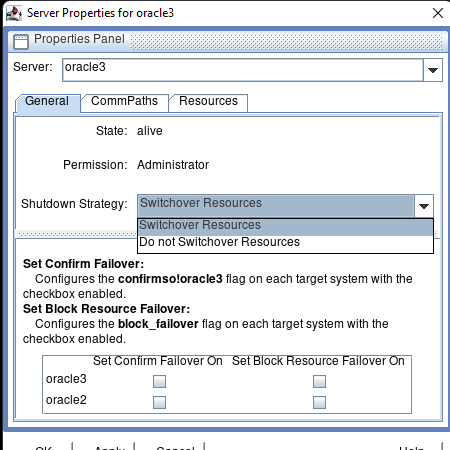
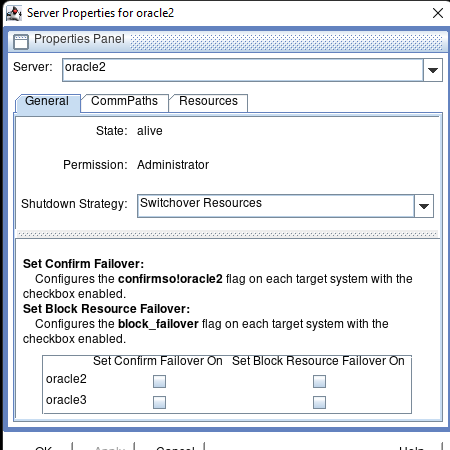
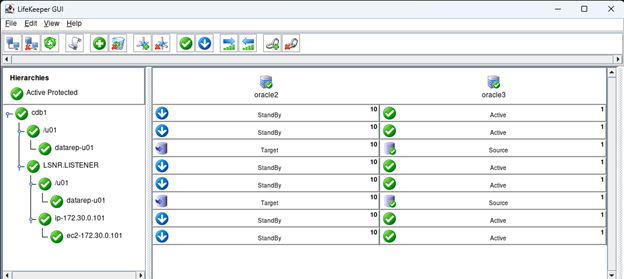
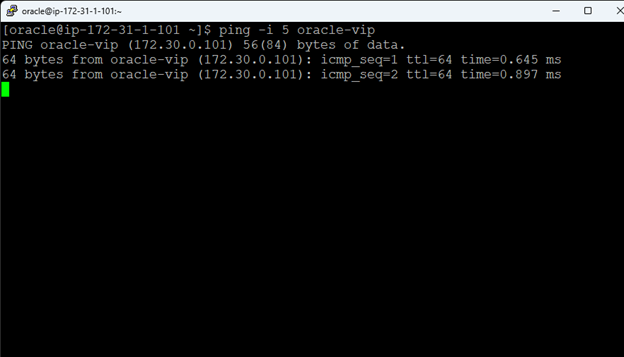
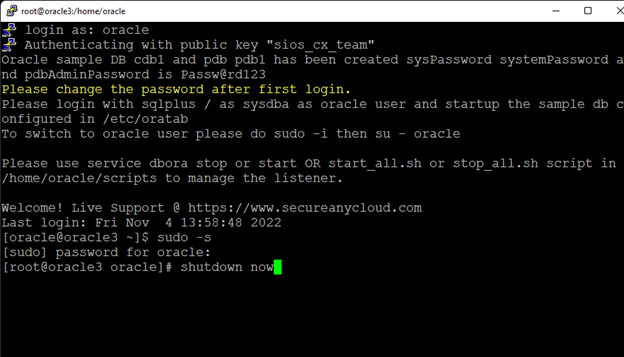
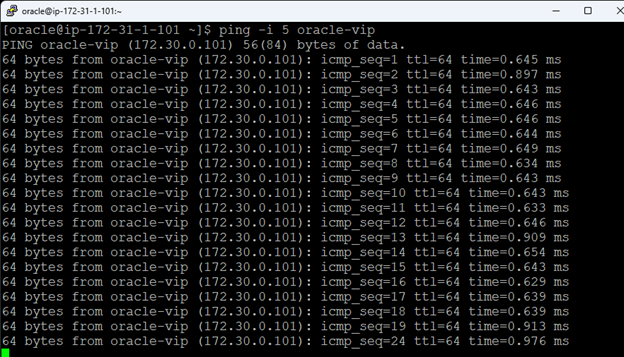
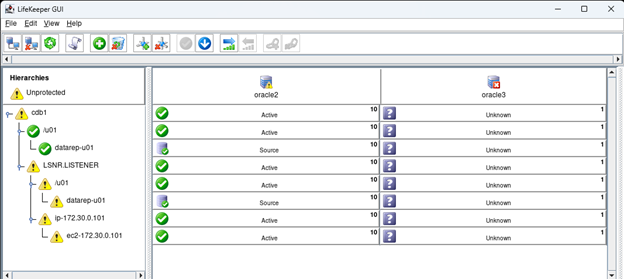
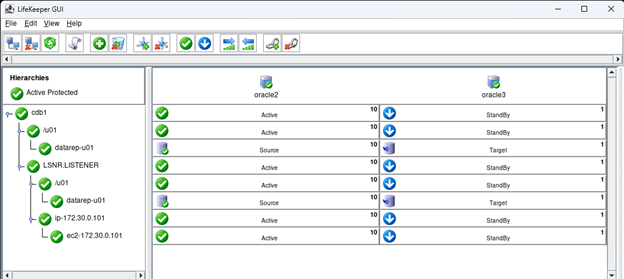
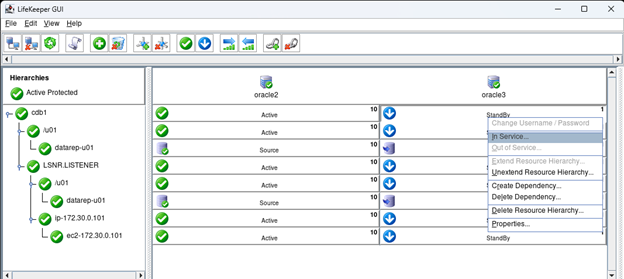
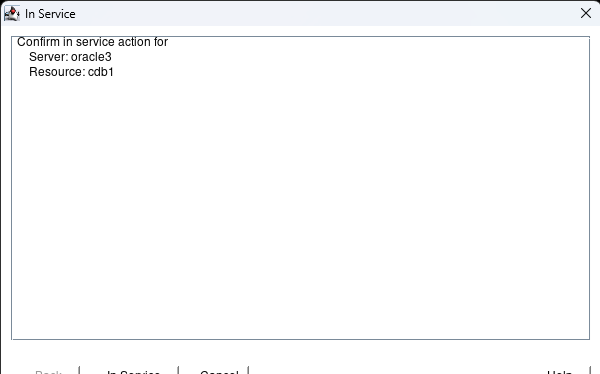
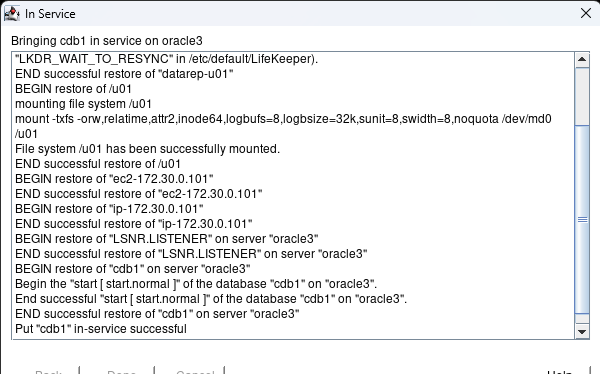
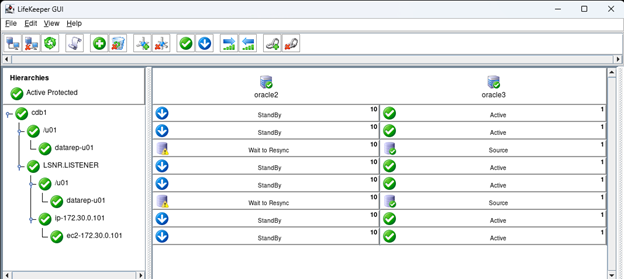
Creating a HA Oracle Database server cluster in AWS |
| December 30, 2022 |
Leading Beverage Manufacturer Protects Critical SAP ERP in AWS EC2 Cloud |