| November 11, 2022 |
How to recreate the file system and mirror resources to ensure the size information is correct |
| November 9, 2022 |
Explaining the Subtle but Critical Difference Between Switchover, Failover, and Recovery |
| November 3, 2022 |
Best Practices for Downloading SAP Products |
| November 1, 2022 |
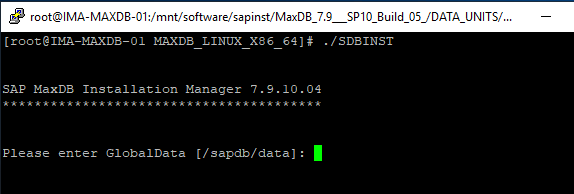
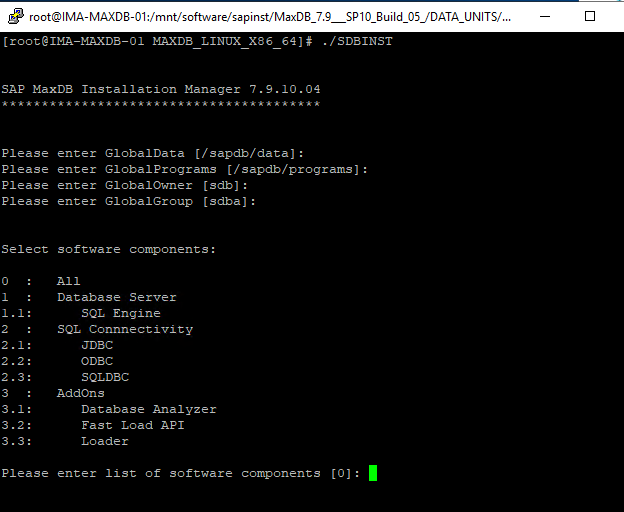
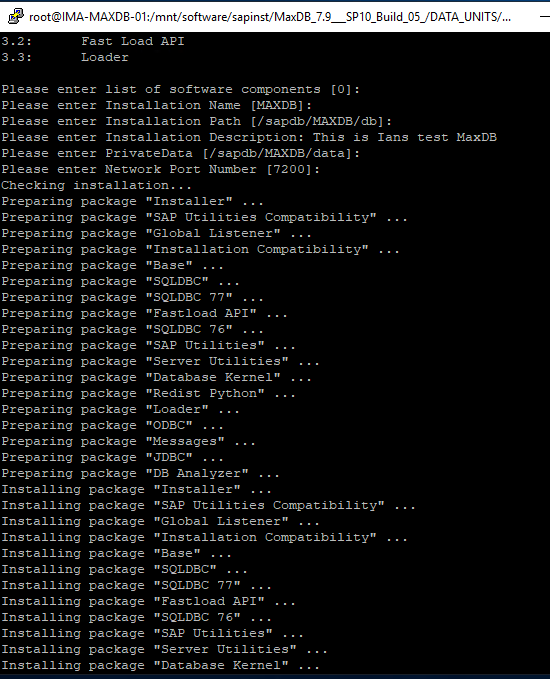
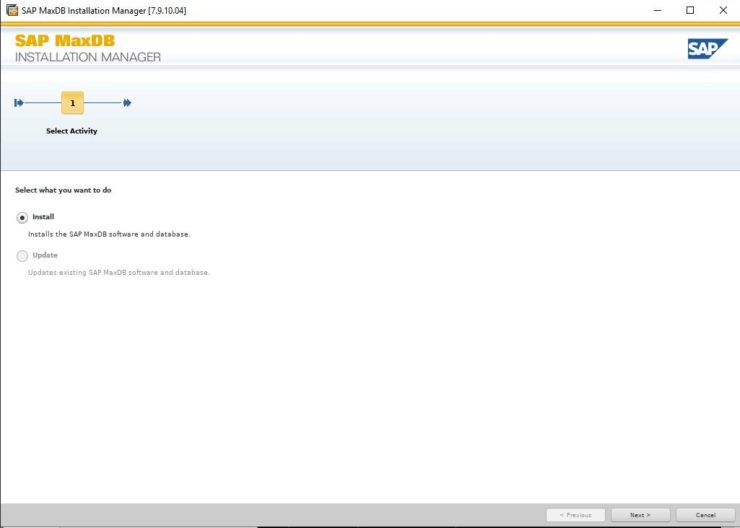
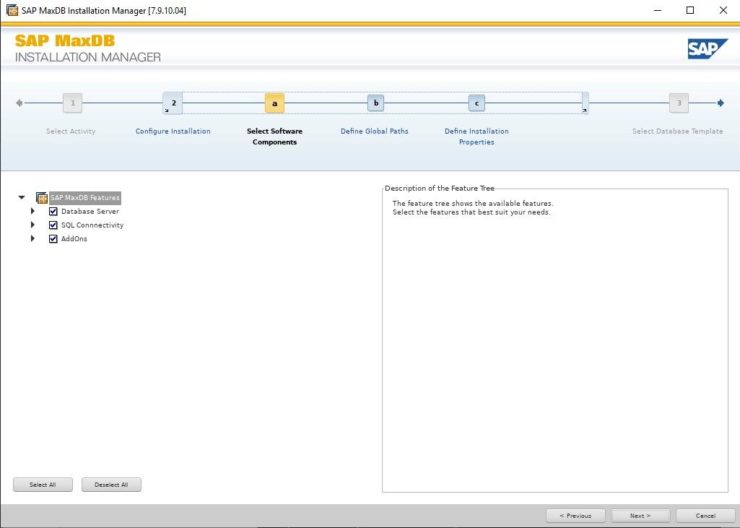
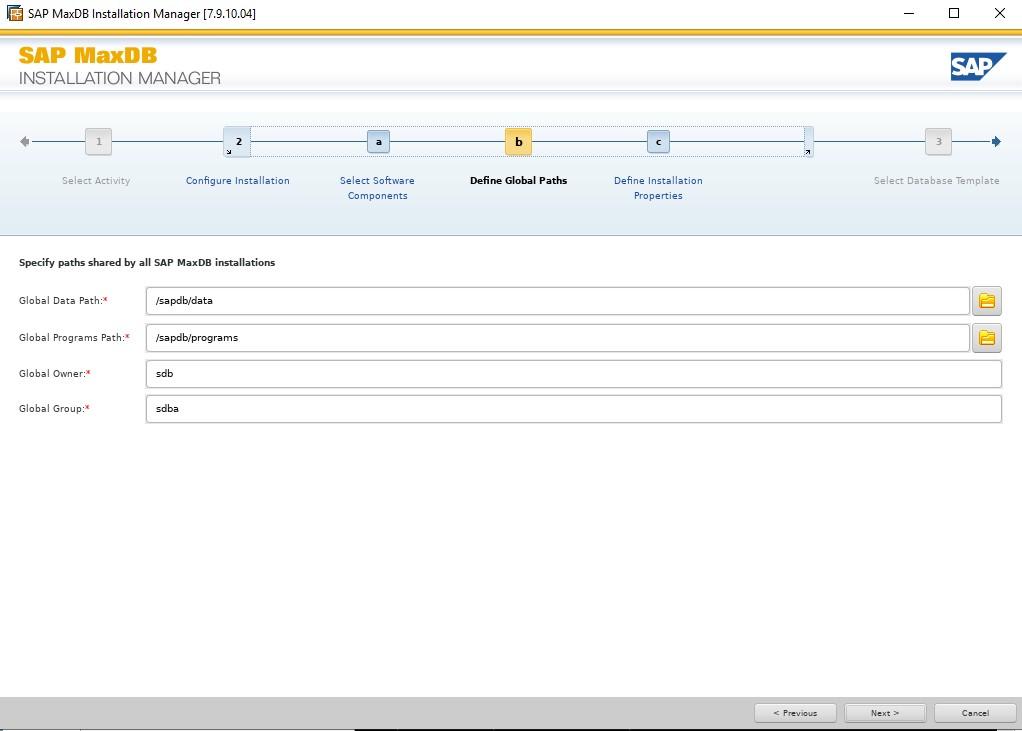
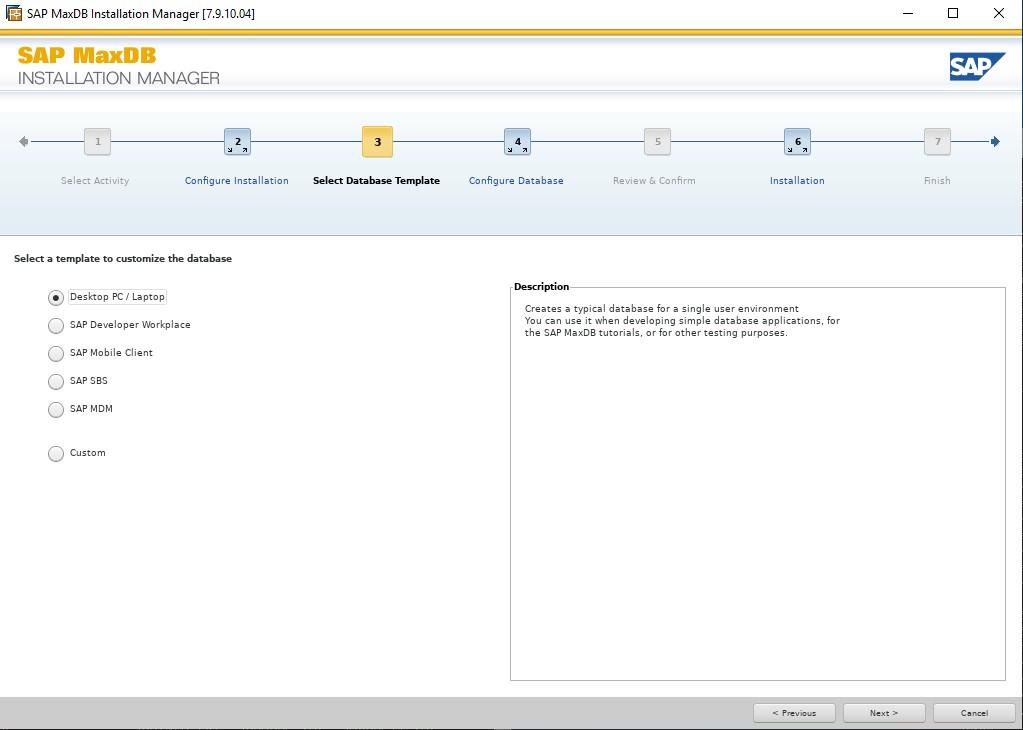
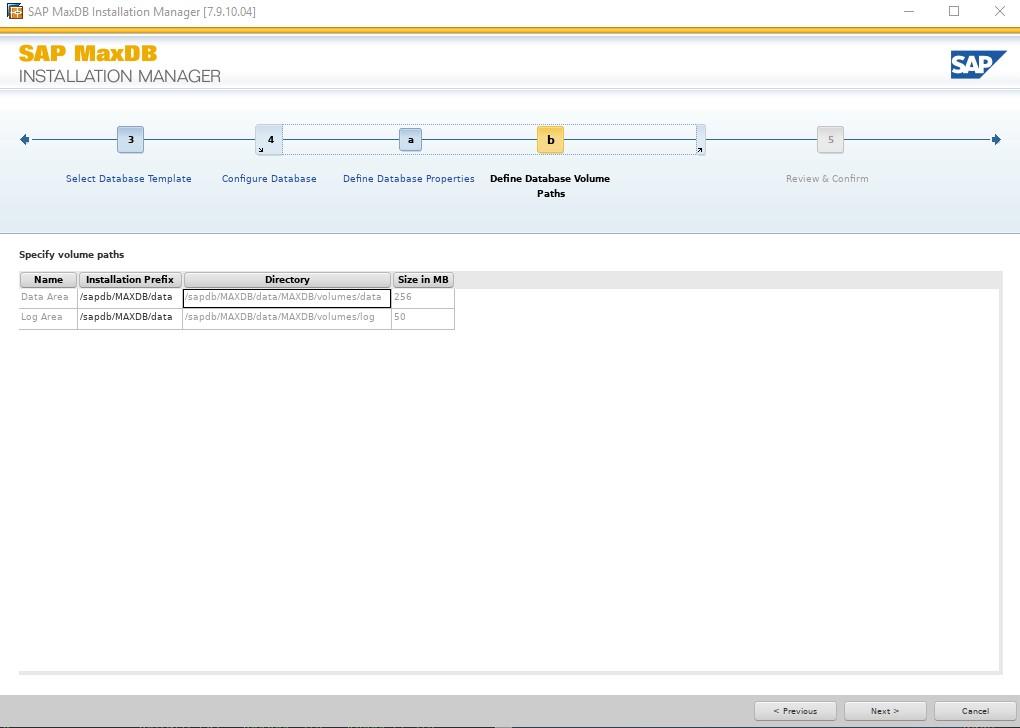
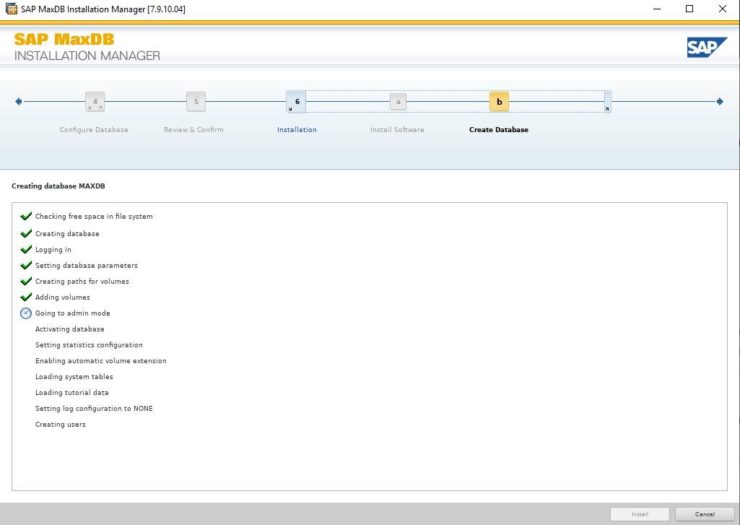
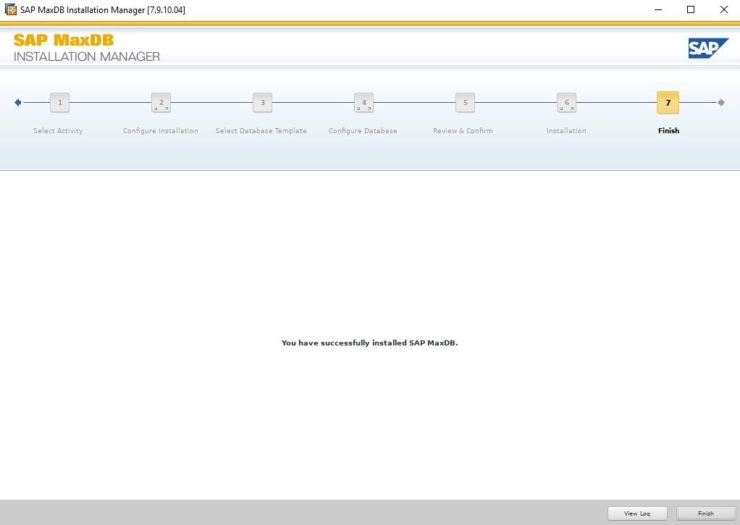
Installing SAP MaxDB in an HA Environment |
| October 27, 2022 |
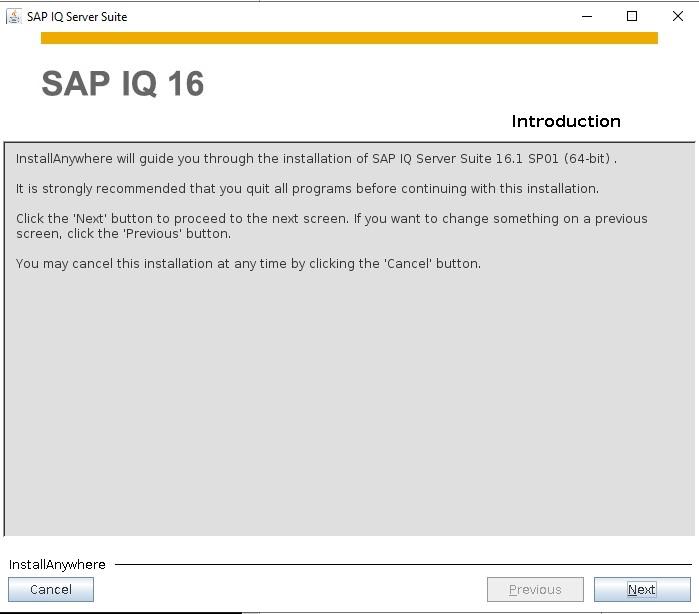
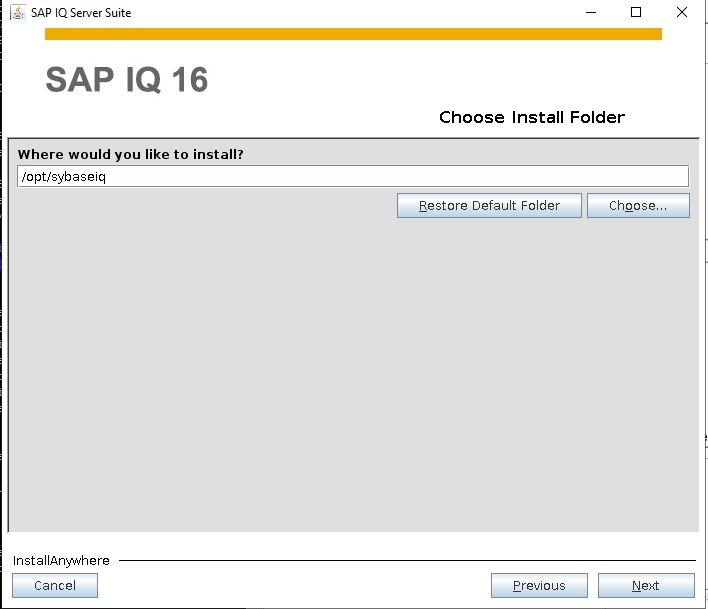
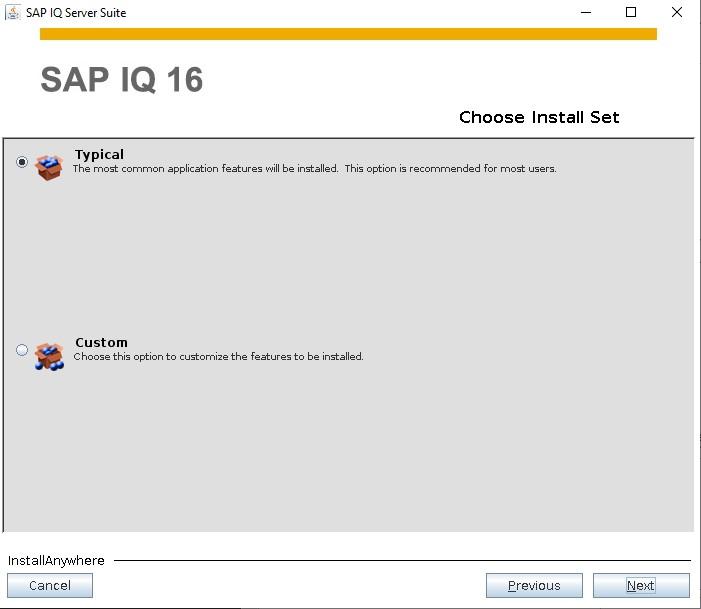
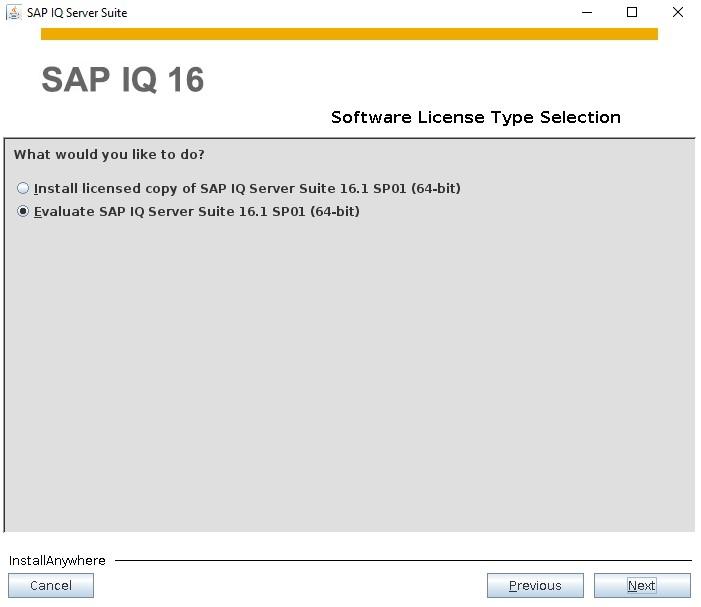
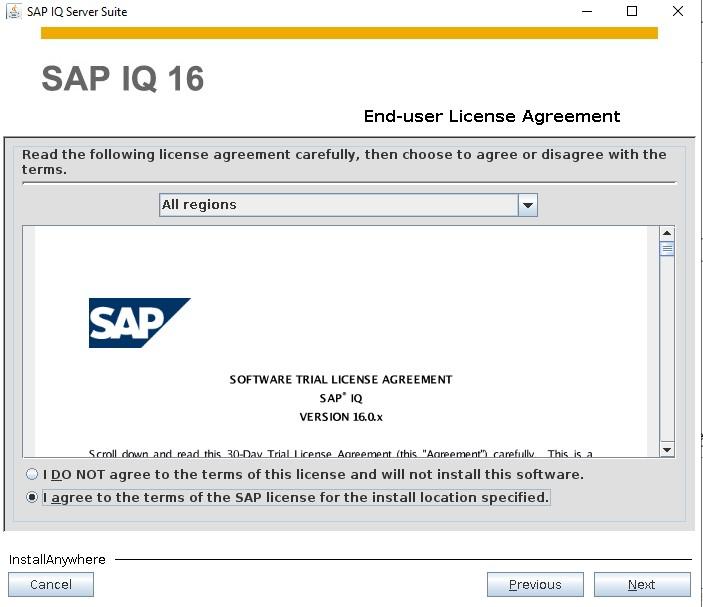
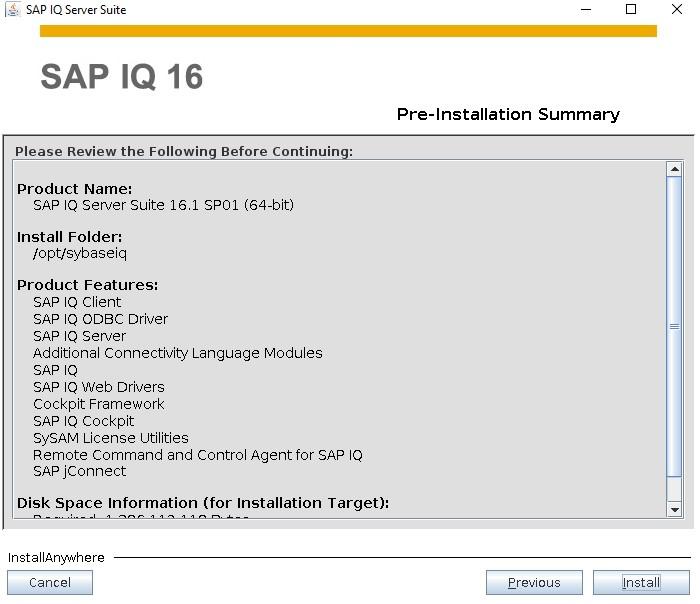
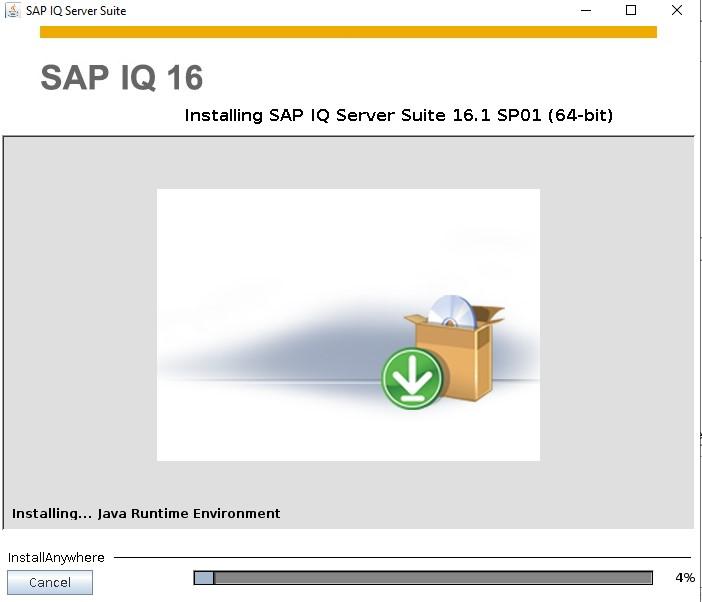
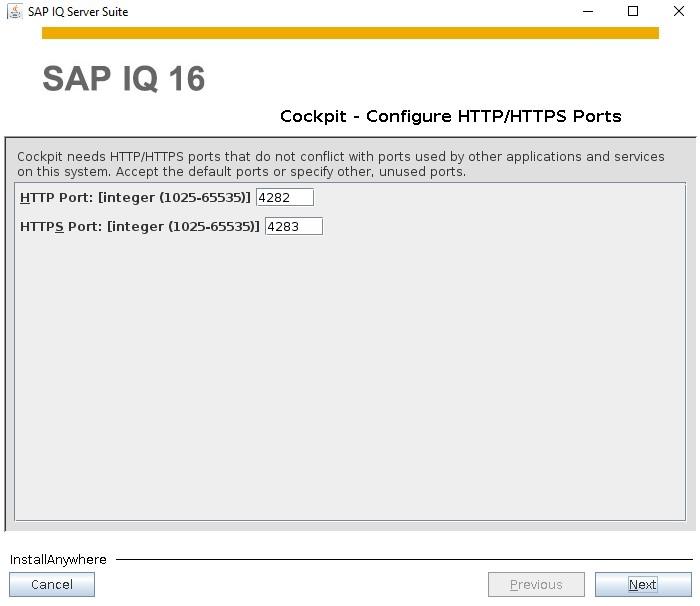
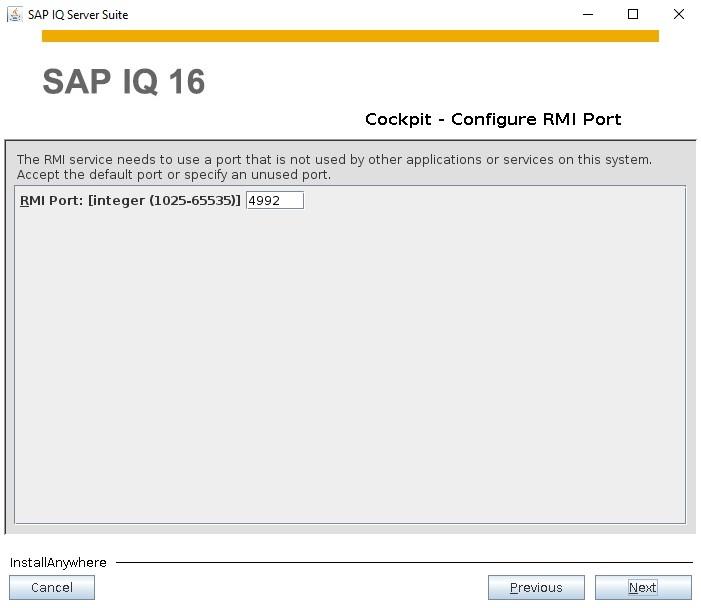
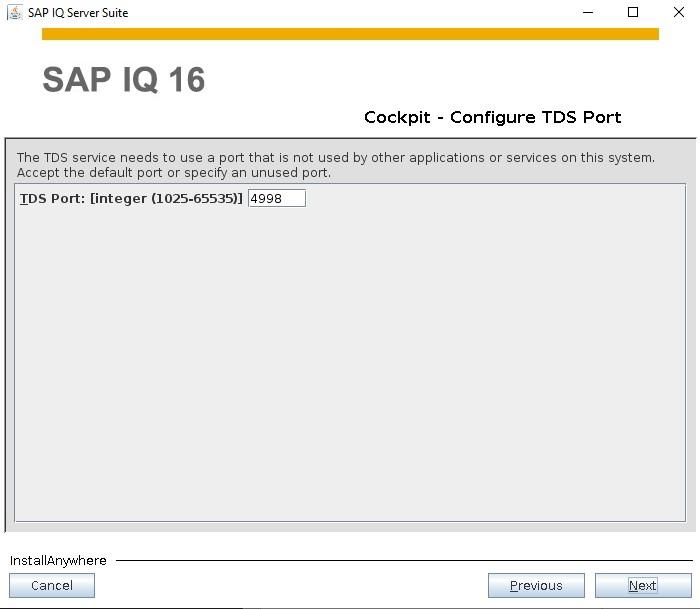
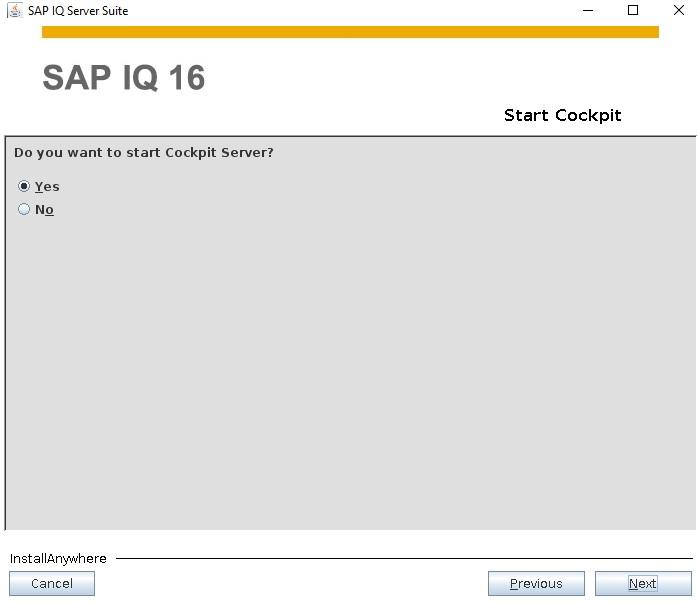
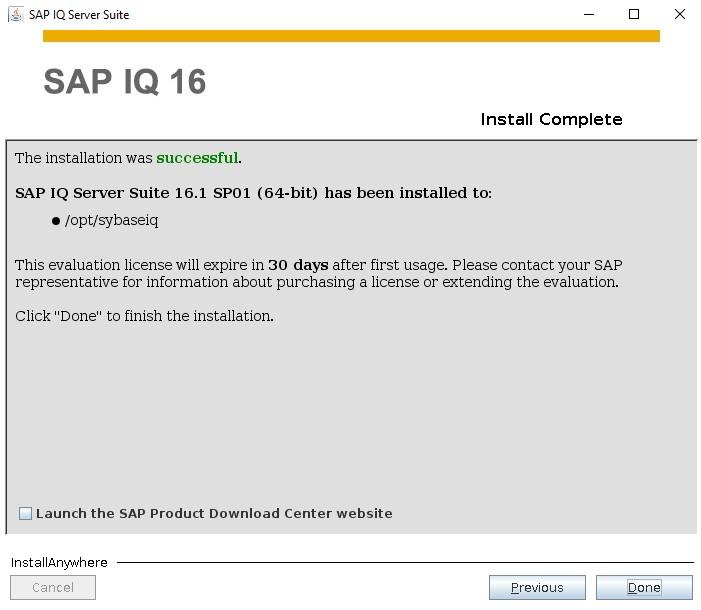
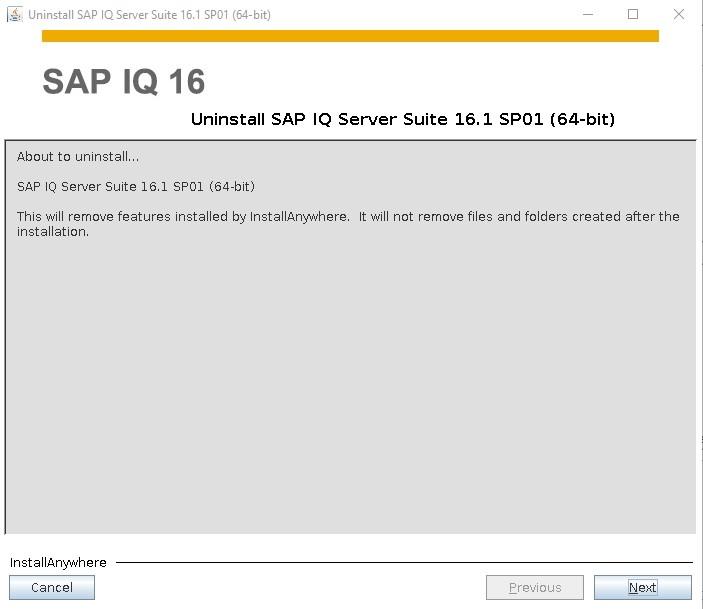
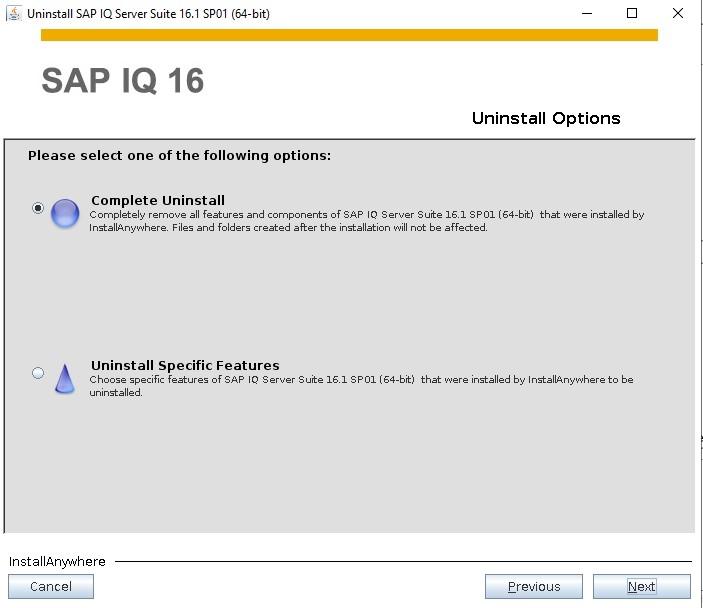
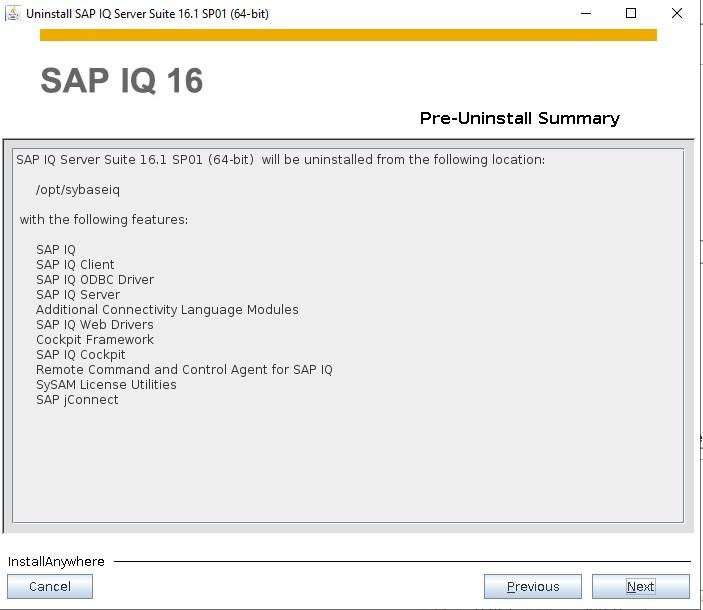
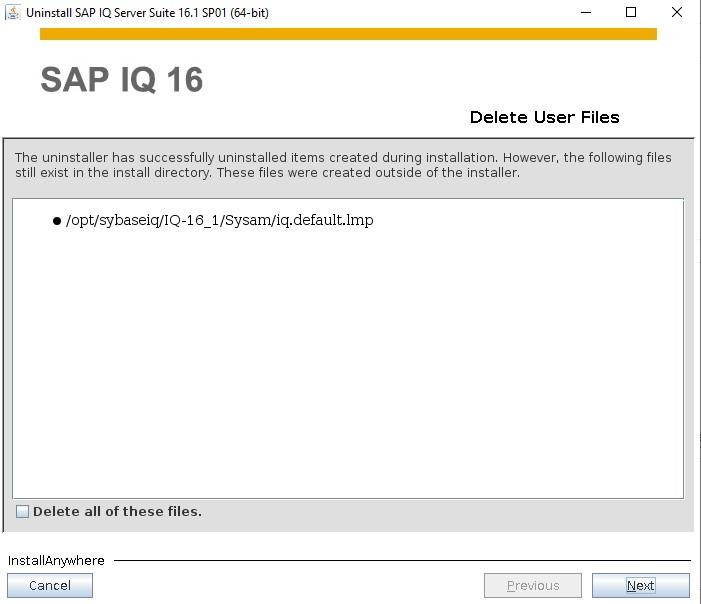
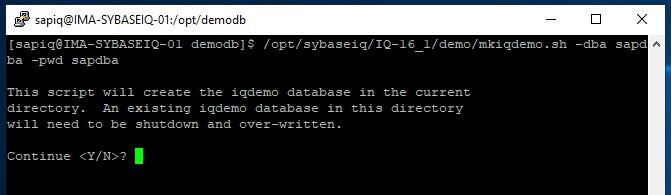
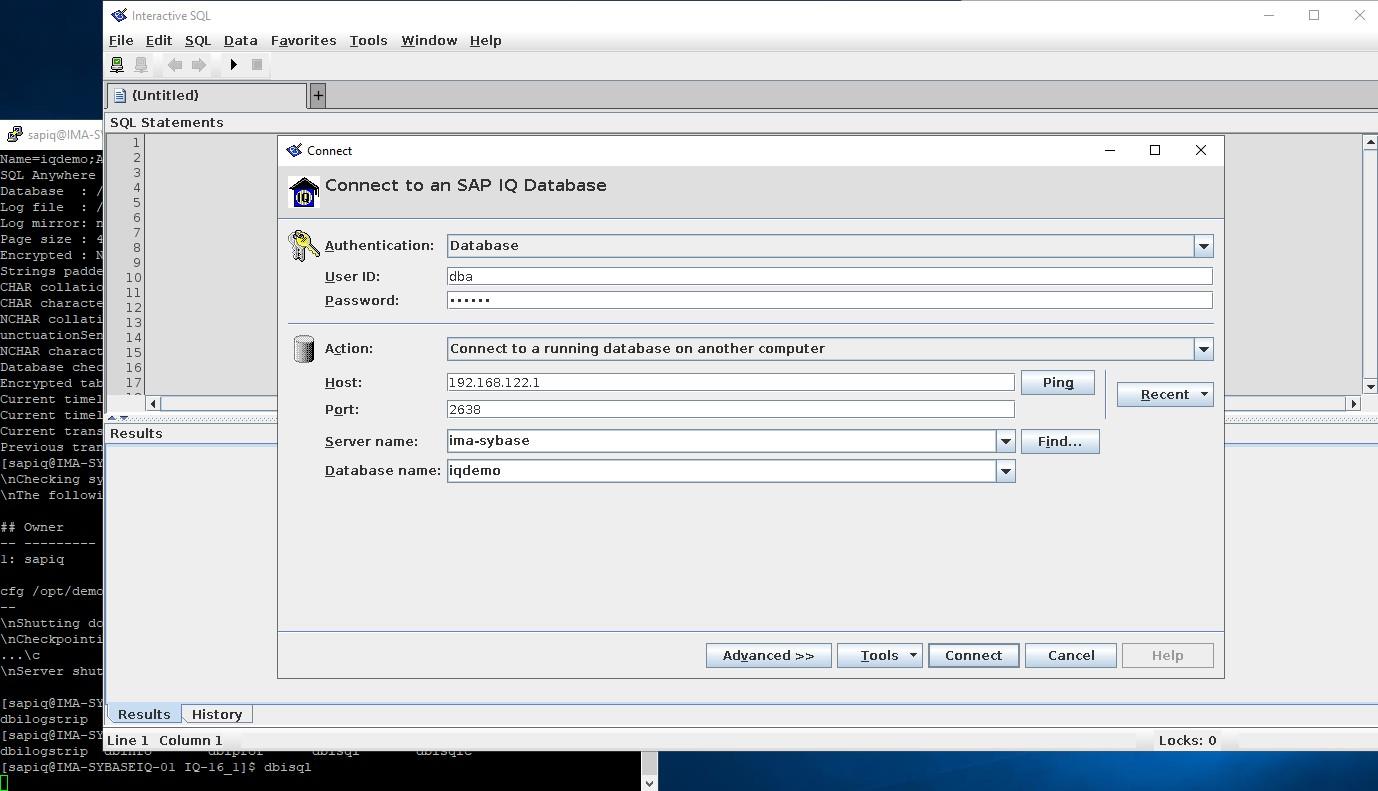
How to Install SybaselIQ (16.1) |