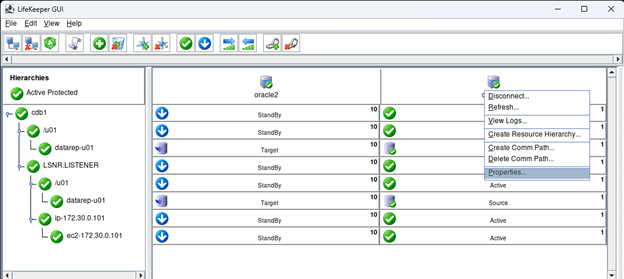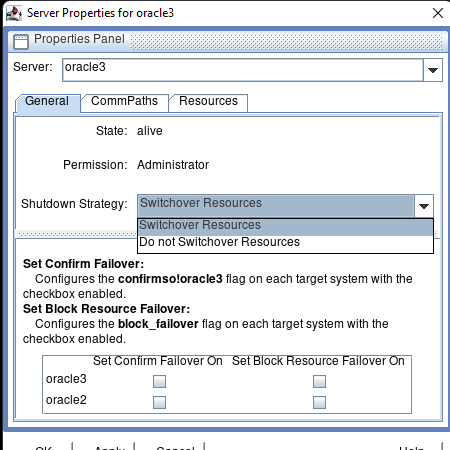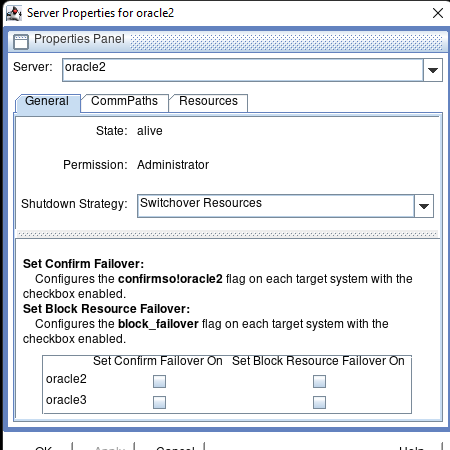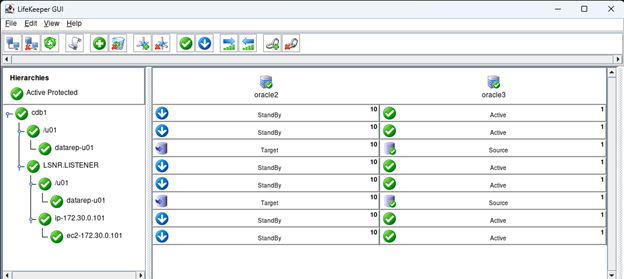
White Paper: The Buyer’s Guide to Choosing the Right Cloud Storage for High Availability
High availability is non-negotiable for business essential applications, but with so many cloud storage solutions on the market, how do you choose? This white paper discusses the 10 key questions you should ask before you buy to ensure high availability, seamless disaster recovery, and cost-effective scalability that’s right for you.
Reproduced with permission from SIOS